Coin pouch DIY with FIMO Leather-Effect clay
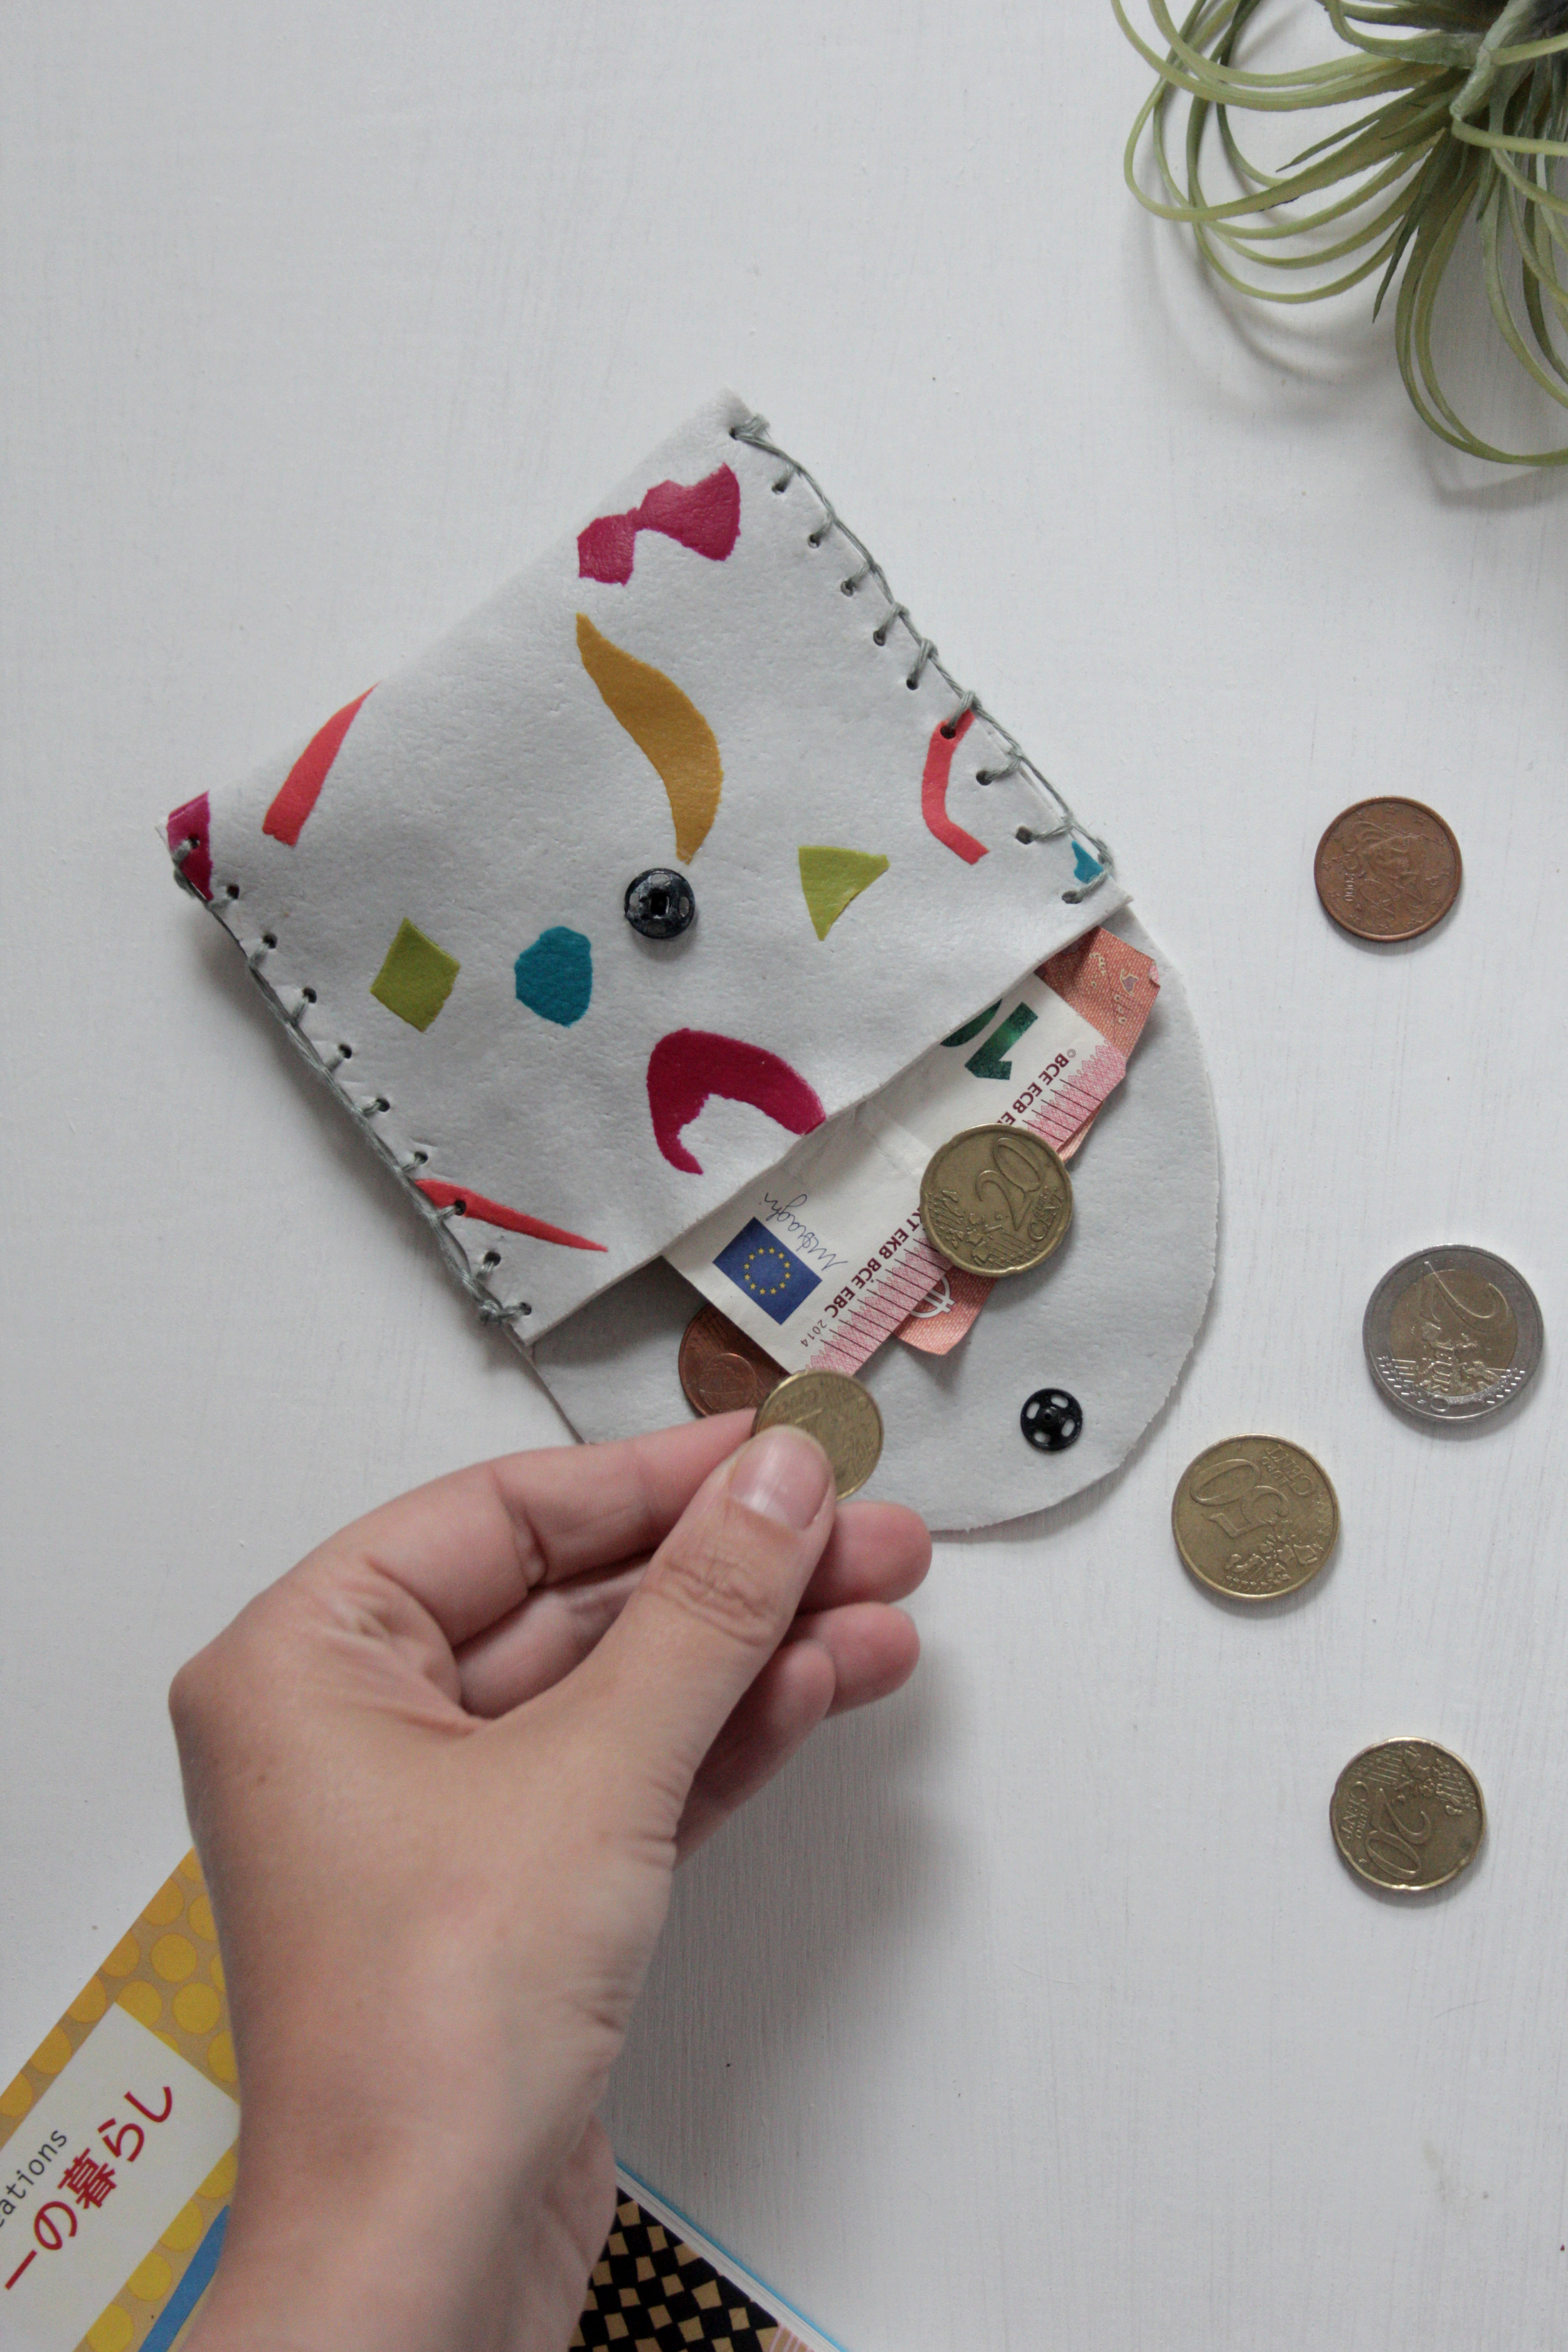
I love making with FIMO clay, it was one of the first craft materials I’ve ever worked with. As a little girl I was forever making clay animals and dangly earrings. So when I found out FIMO launched a new product that acts and looks like leather I got very excited! Instead of going hard when baking this clay stays soft and moves like leather would do. So you can mix and match colours, make fun shapes and for the first time ever you can make FIMO projects that fold double! I didn’t had to think hard on what project I would like to try first with the leather effect clay as making a coin pouch with bright coloured shapes was high on my ‘to make’ list. I love how I can press the shapes into the clay and it looks like one big piece of patterned leather!
The pouch is super easy to make and you can create any pattern you like, you might like to go monochrome, stripy or make a polka dot version.
I used:
- FIMO clay machine or rolling pin
- Craft knife
- Ruler
- Oven and baking tray
- Needle and thread
- Popper/ faster
- Super glue
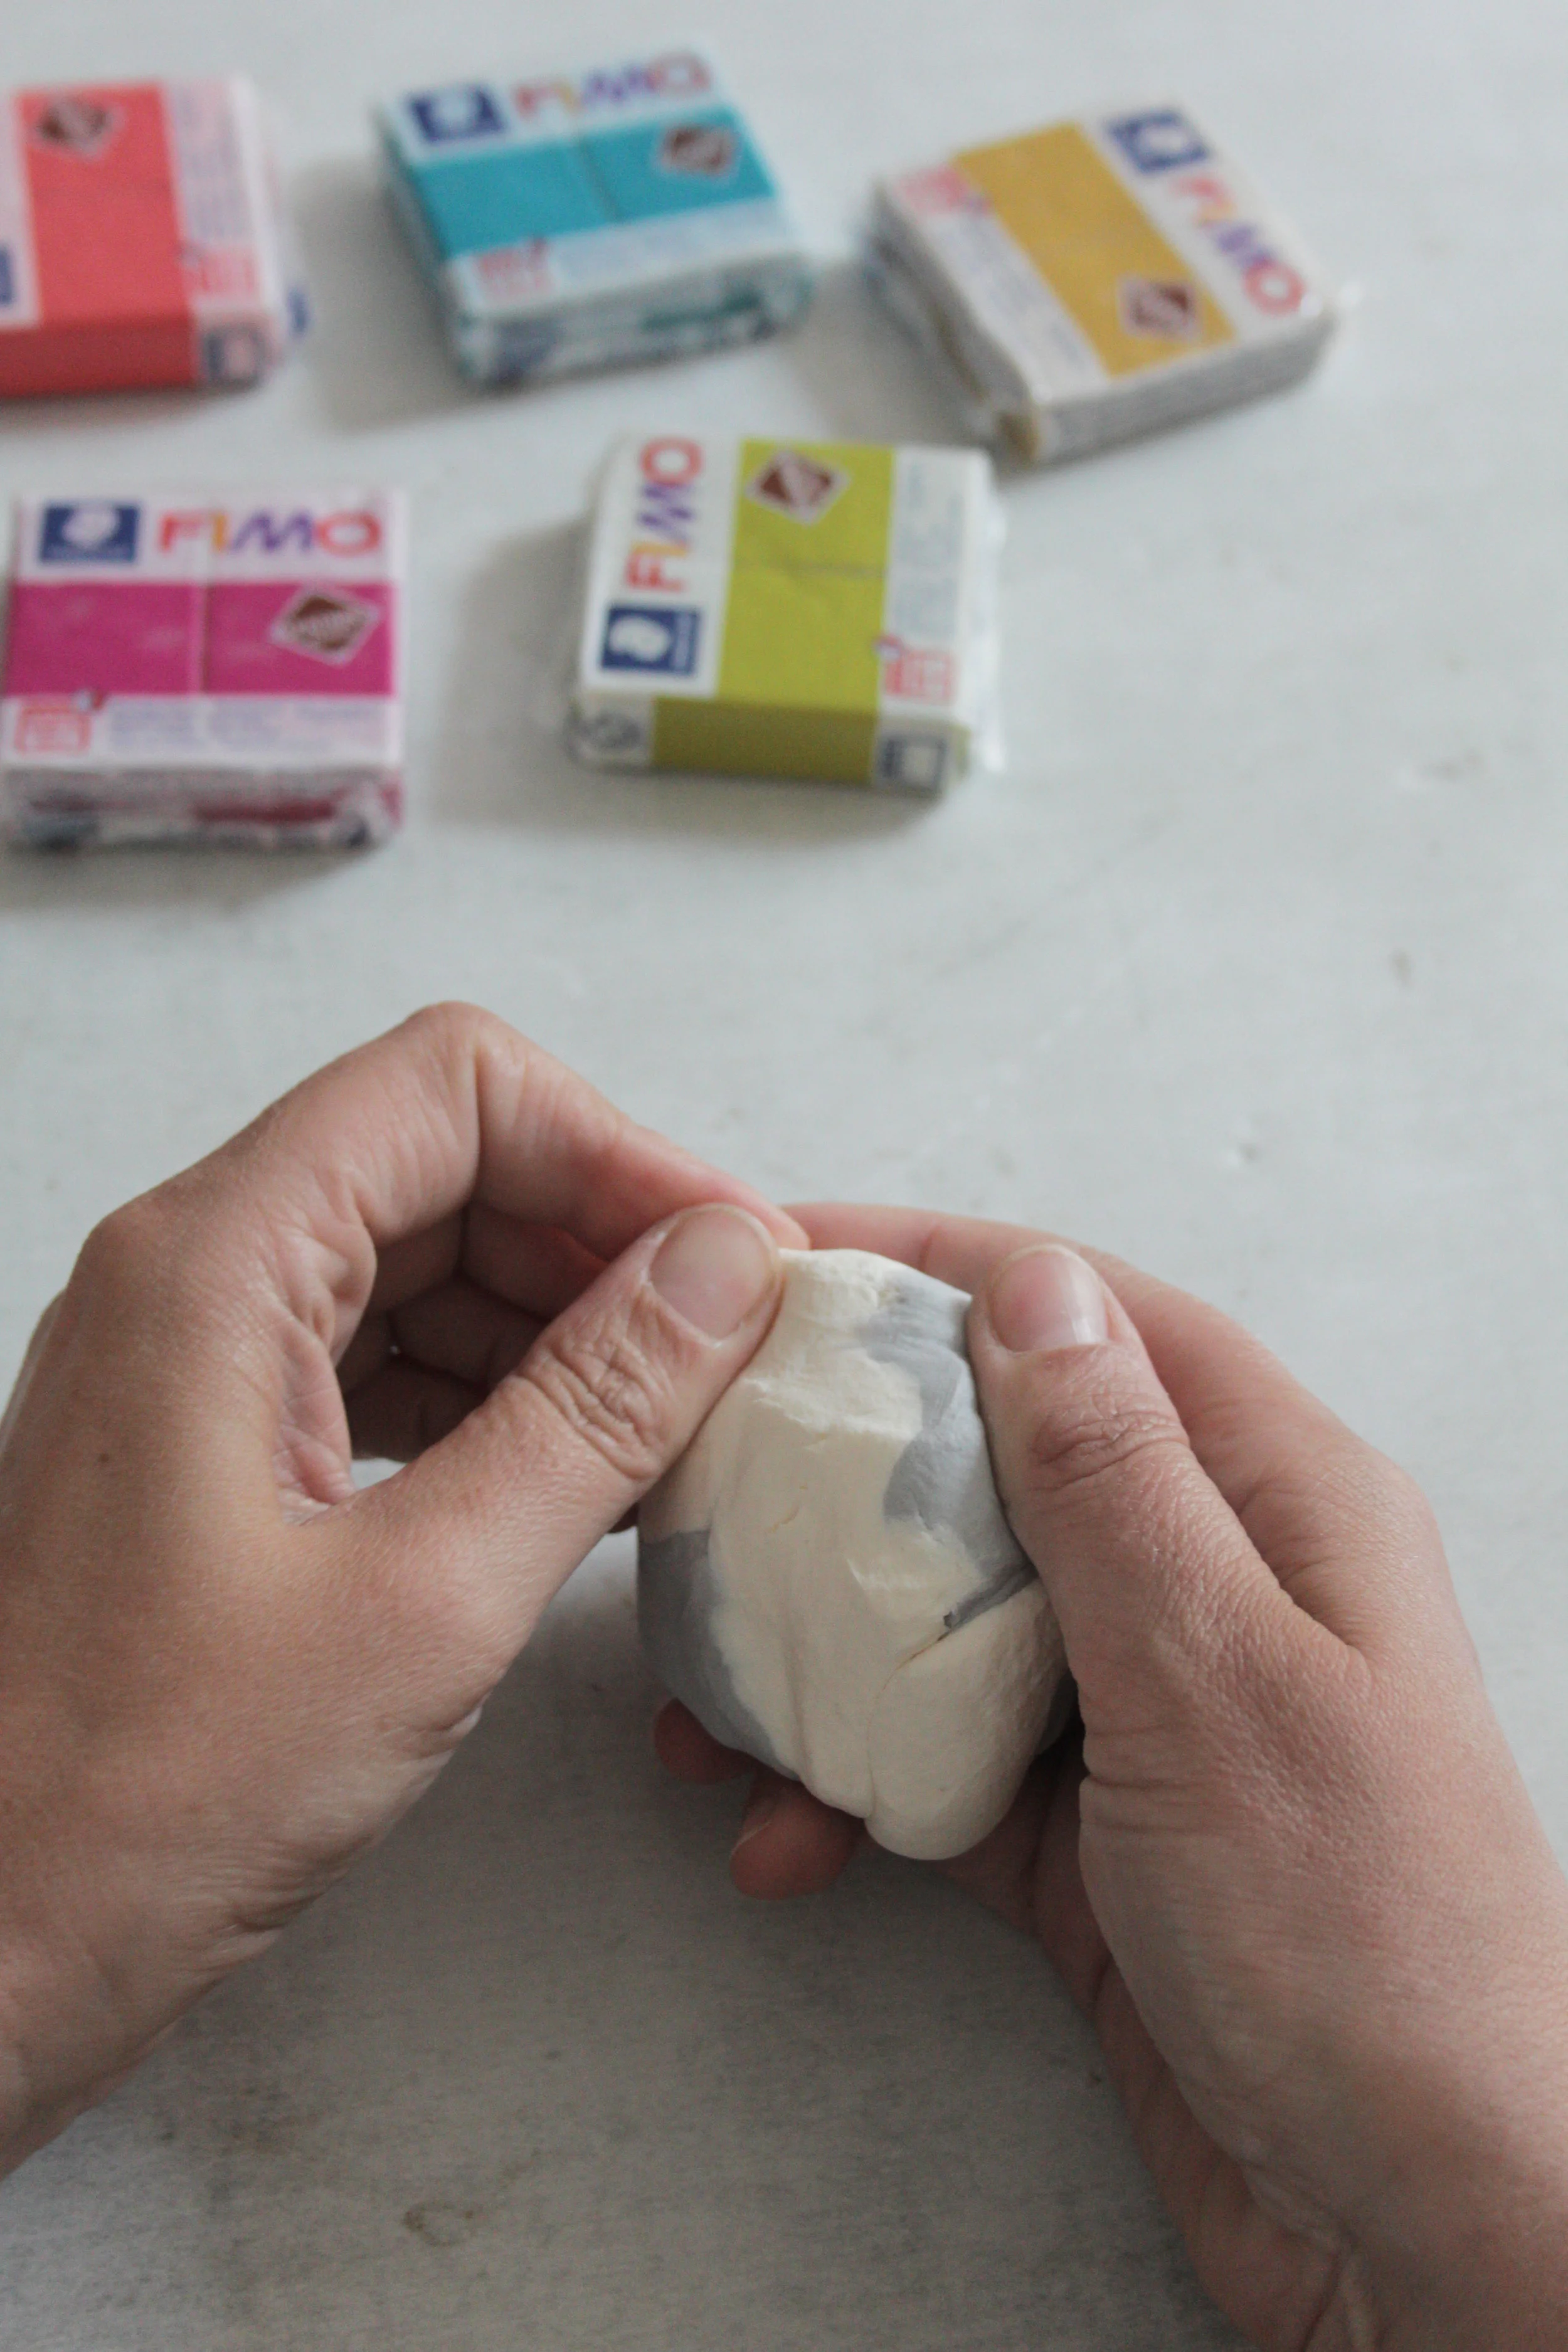
1. Mix together a pack of Ivory and Dove grey or any other colour/colours you like. You will need 2 packs of FIMO Leather-Effect for the pouch
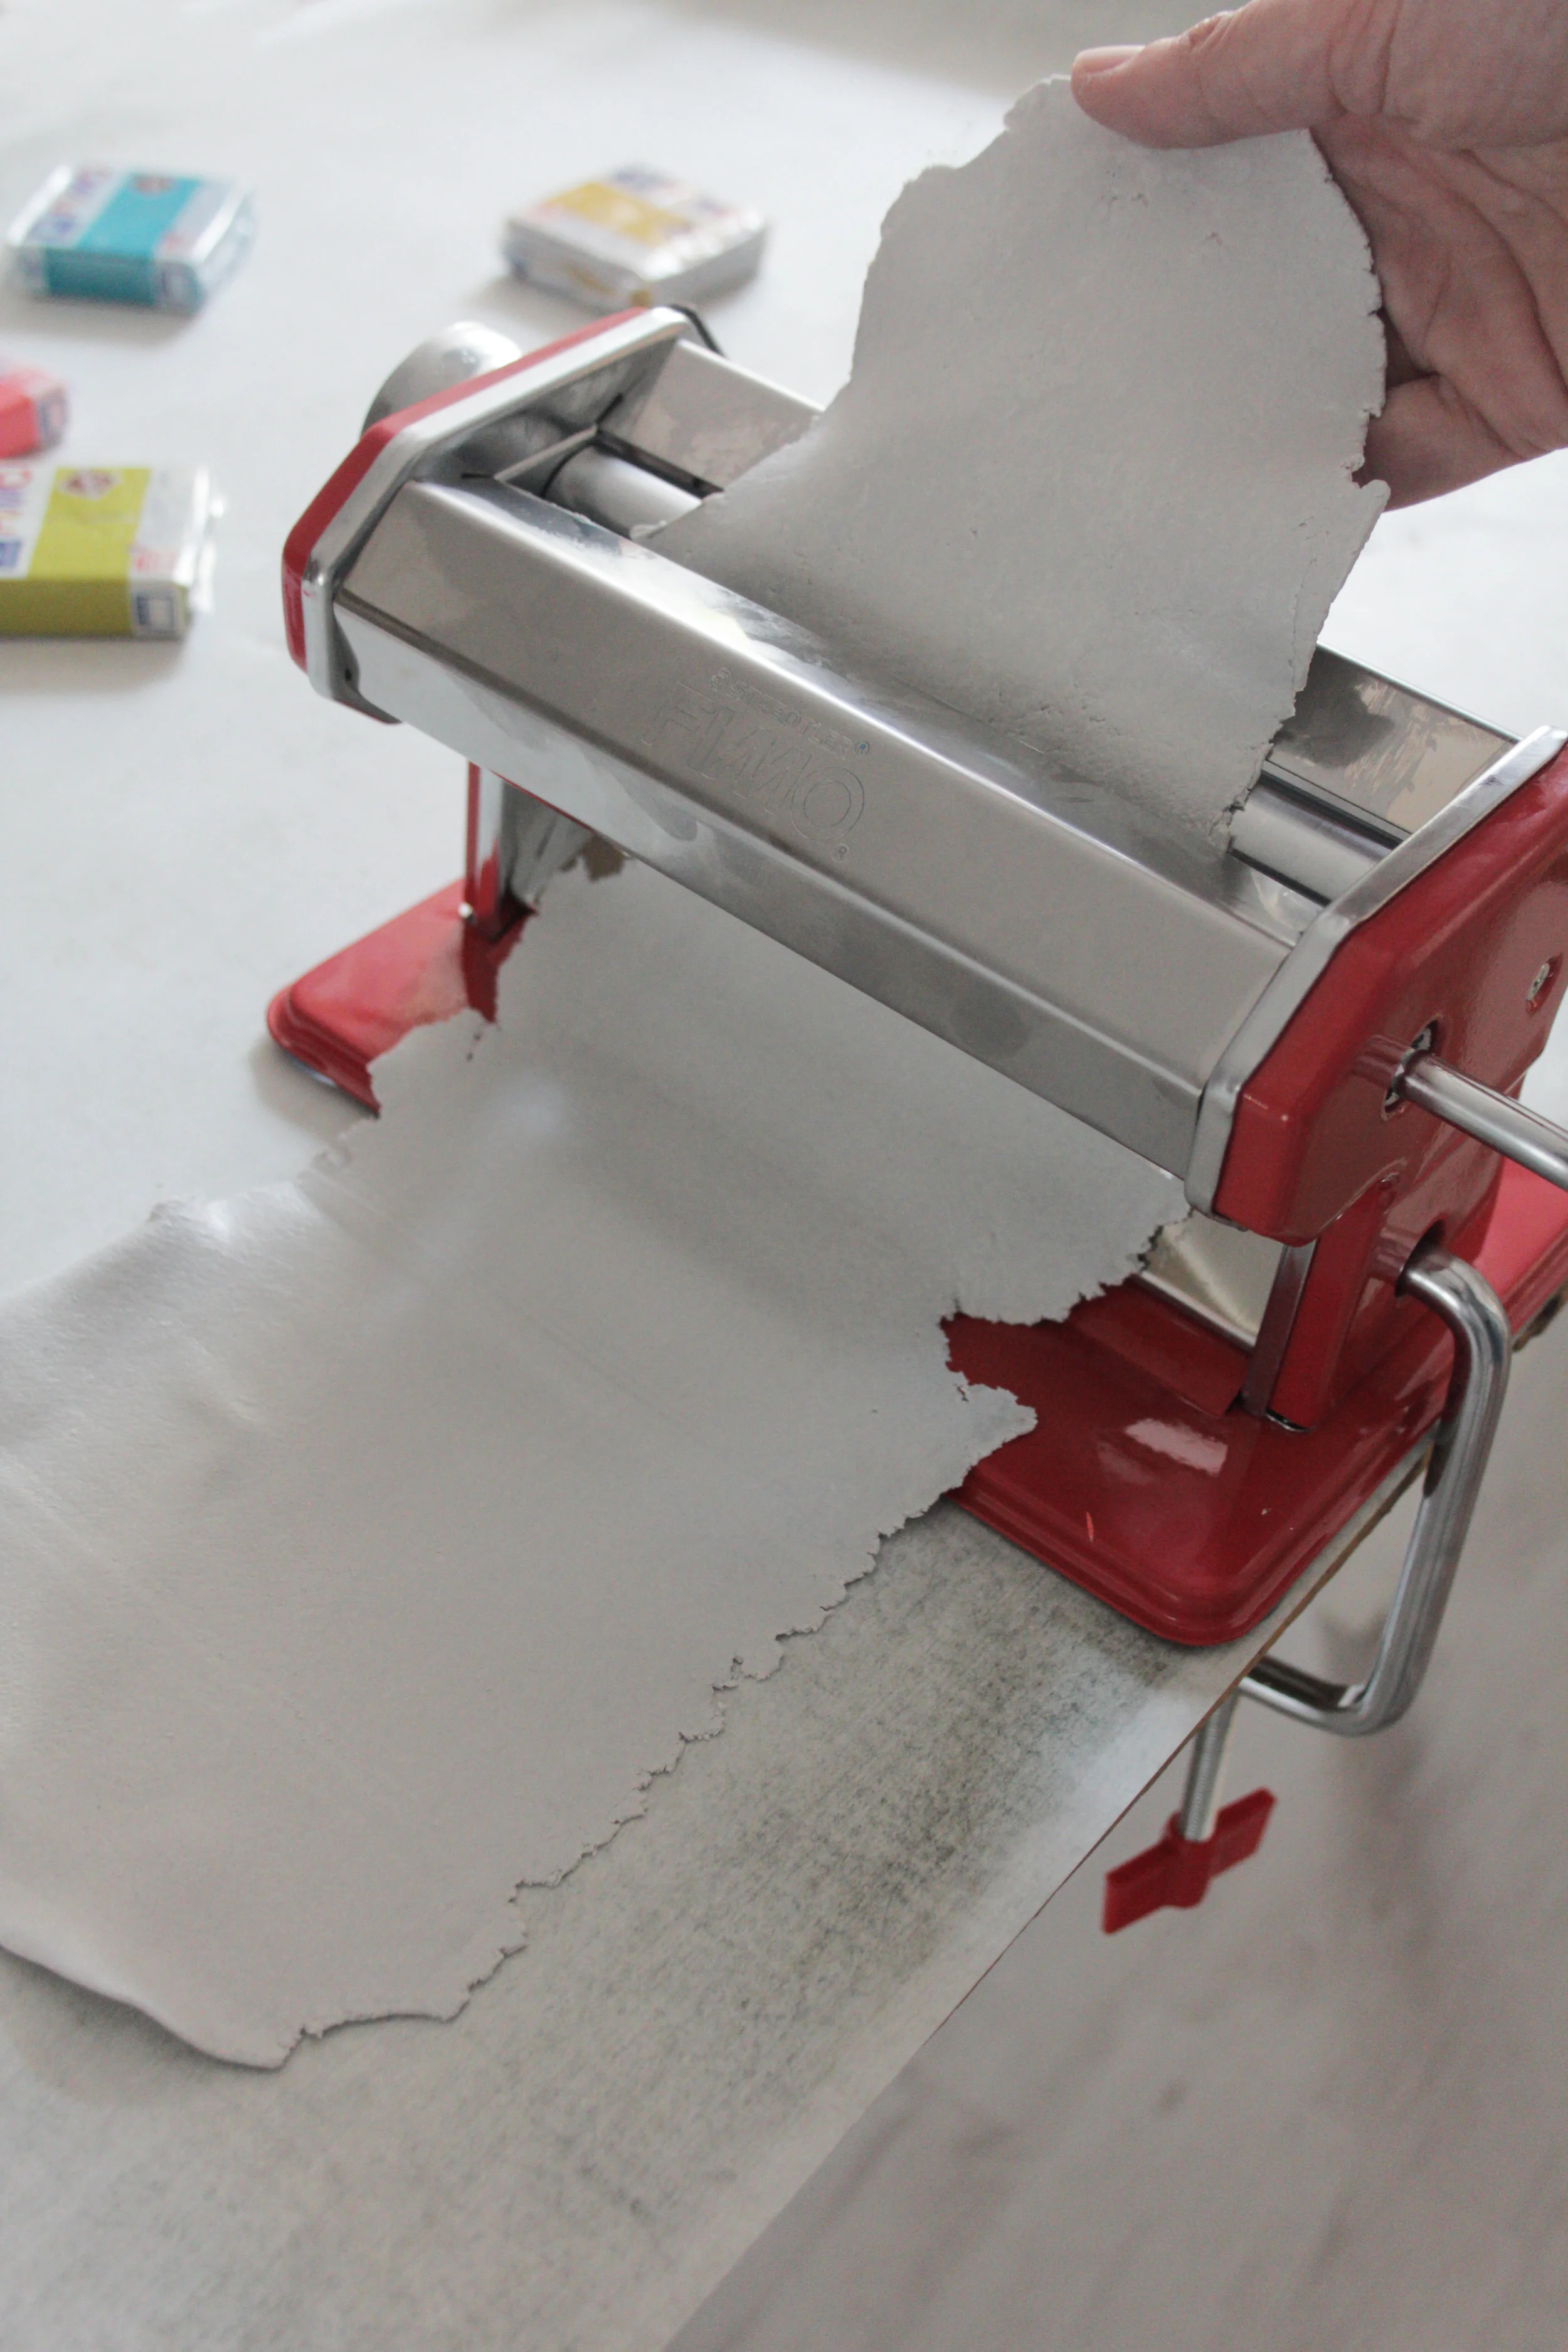
2. Roll the clay out till a rectangle of half a centimetre thick. I did this with the FIMO clay machine, rolling it through the machine at mark 1 at first, then working your way up to a mark 3. The machine is absolutely amazing!! Of course you can use a rolling pin for this too
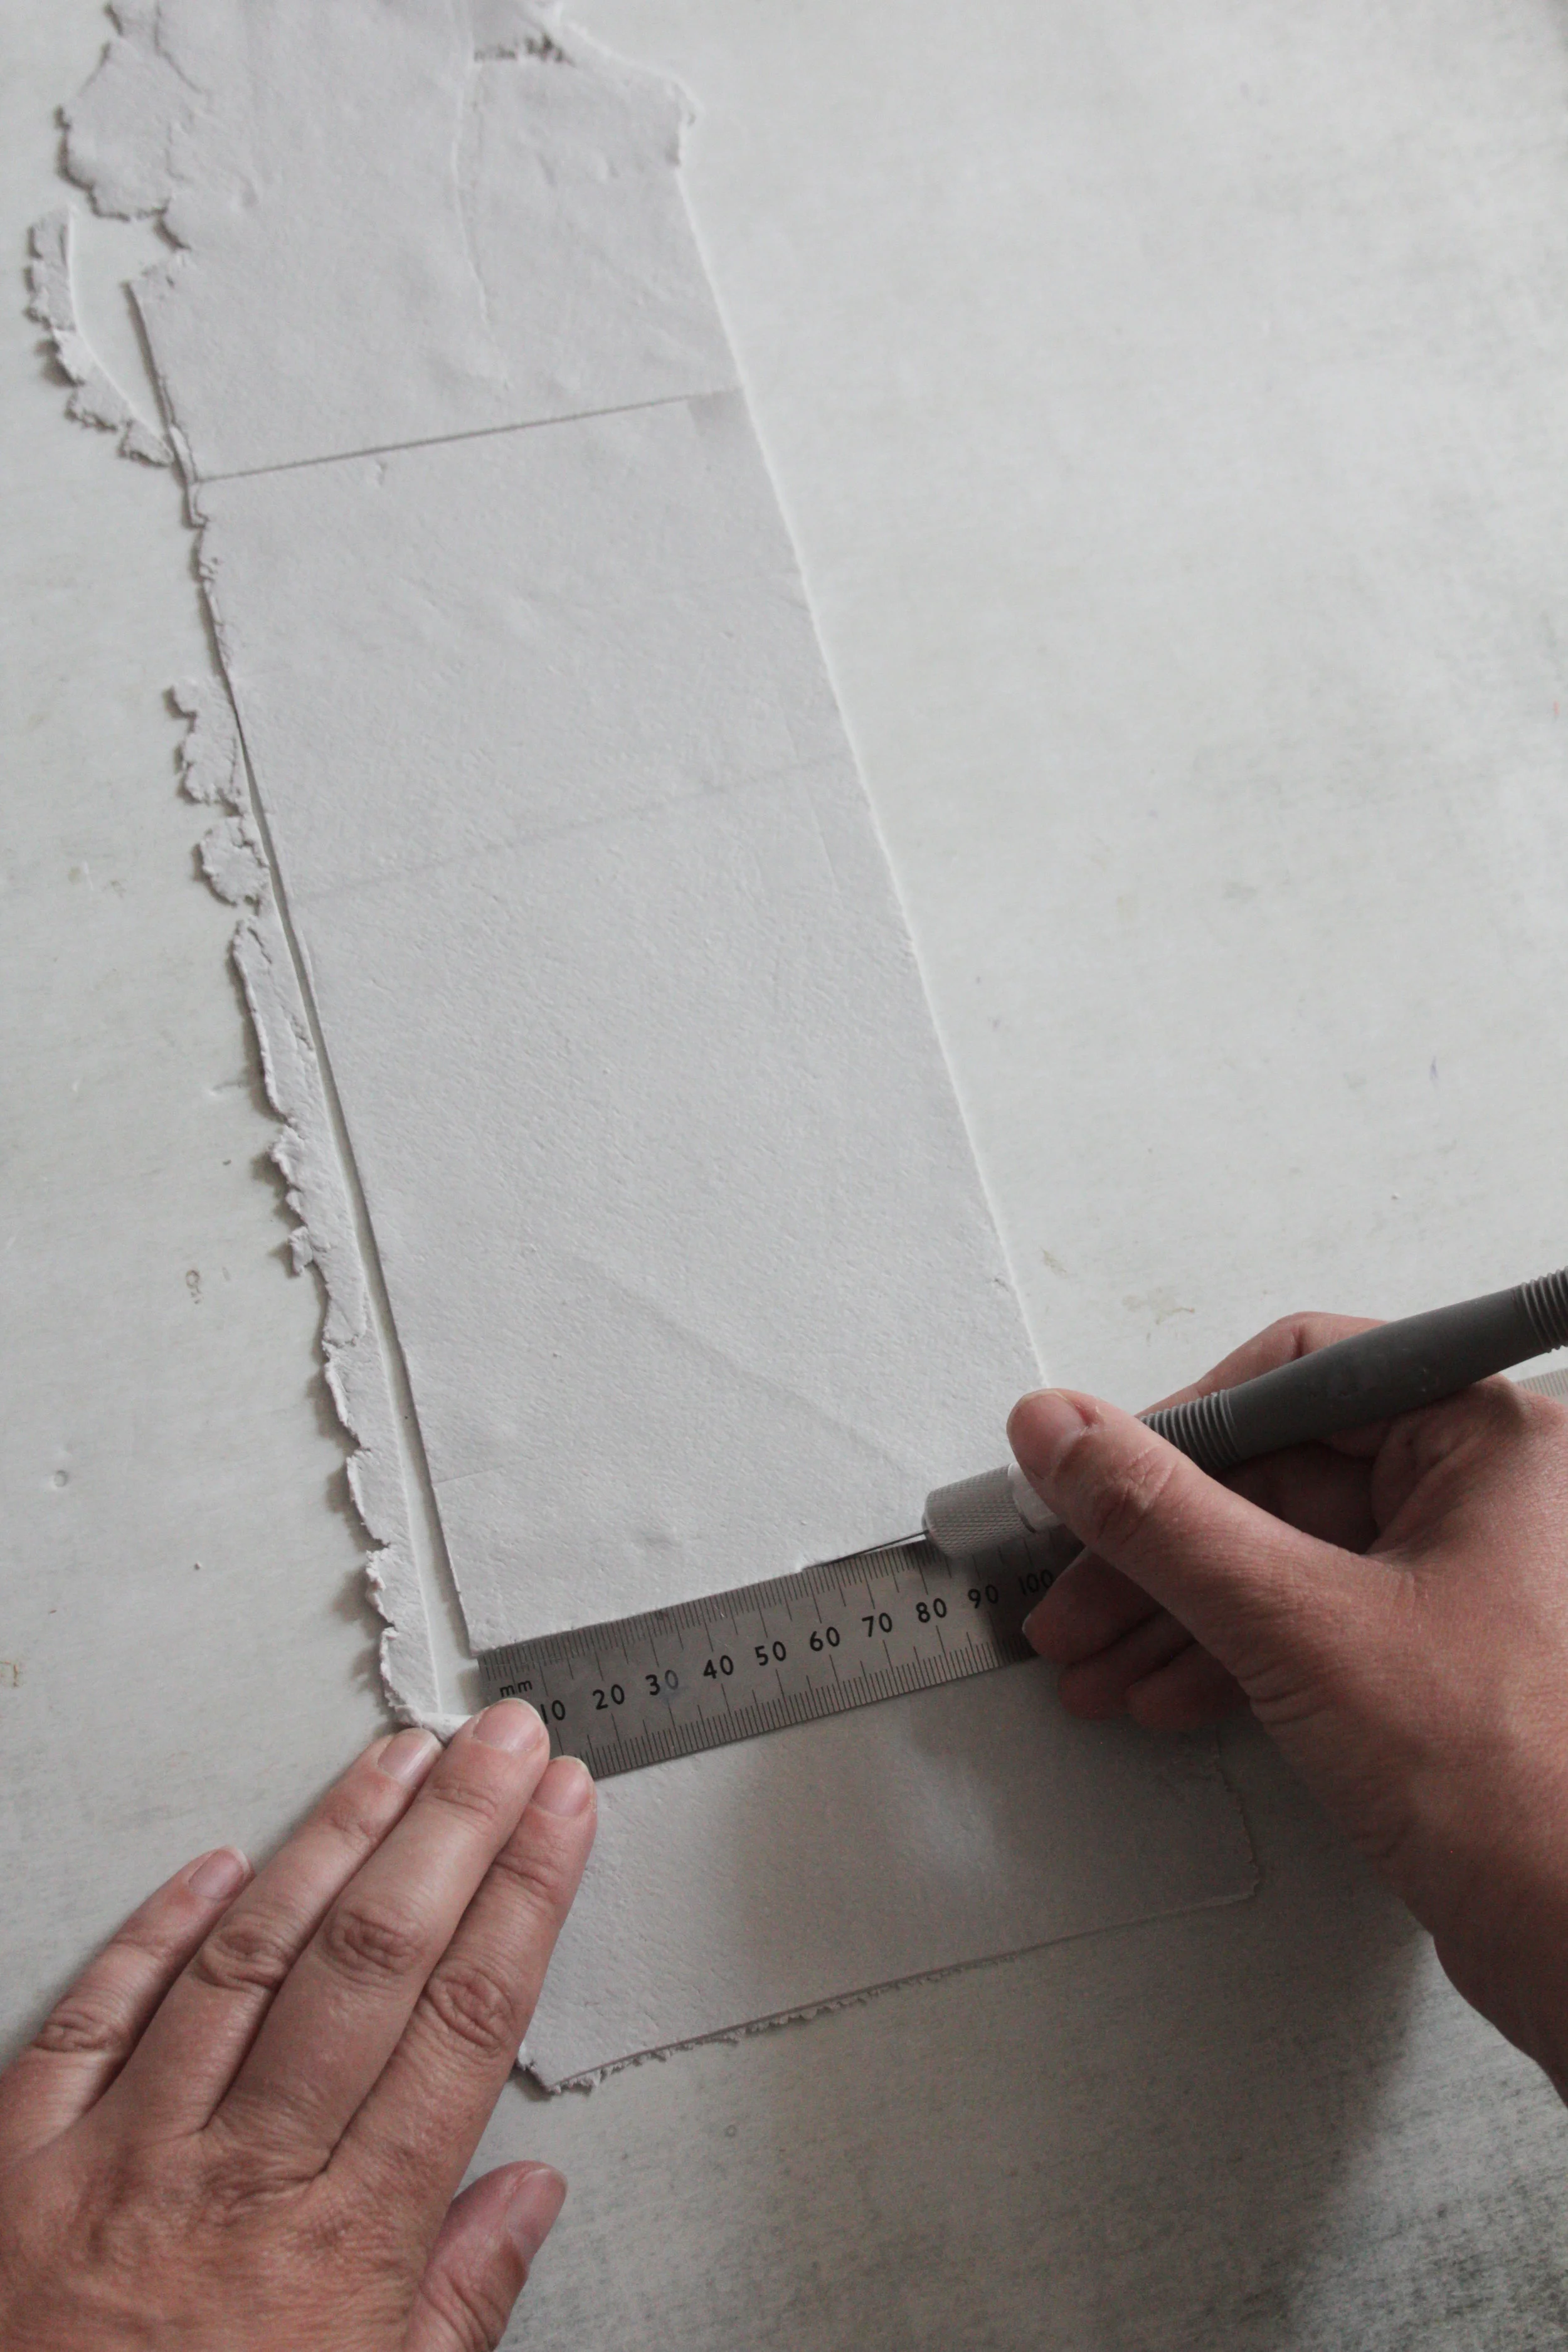
3. Cut your clay into a rectangle of 11 x 24 cm
4. From all the other colours you will need 1 or 2 bars, knead them and roll into discs of 0.3 cm thick. I used the clay machine for this, rolling it through working up to a mark 5 thickness.
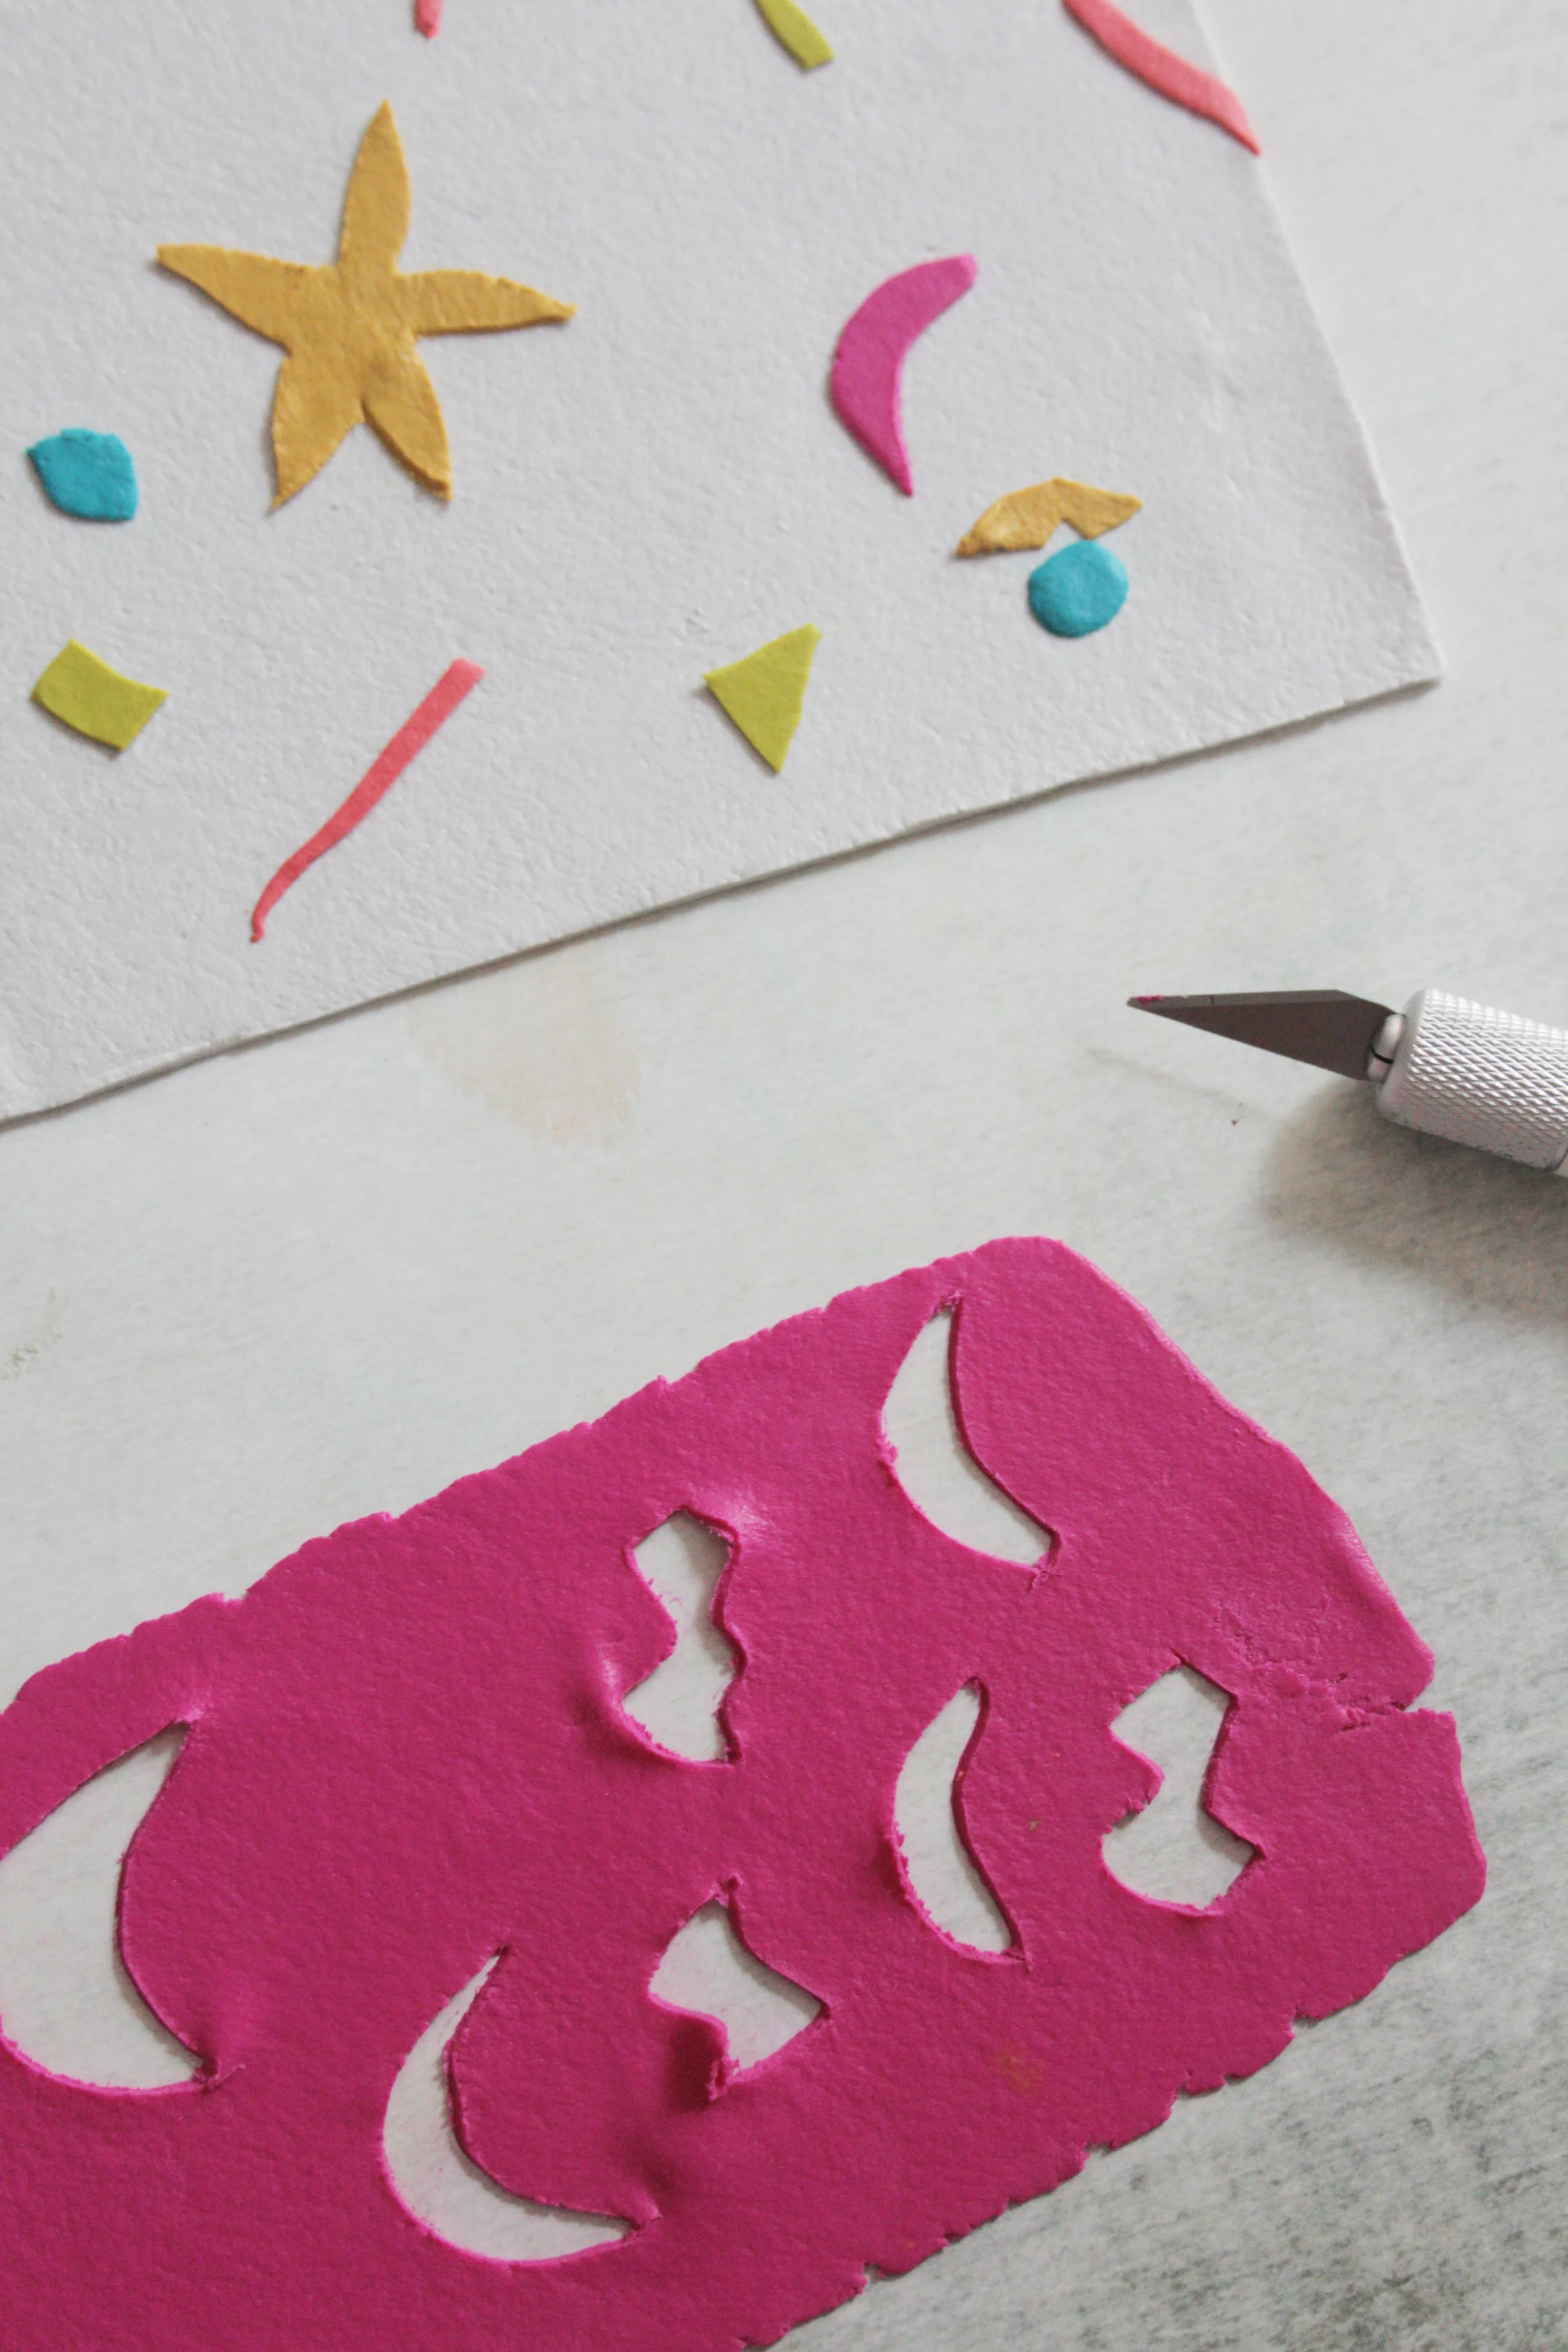
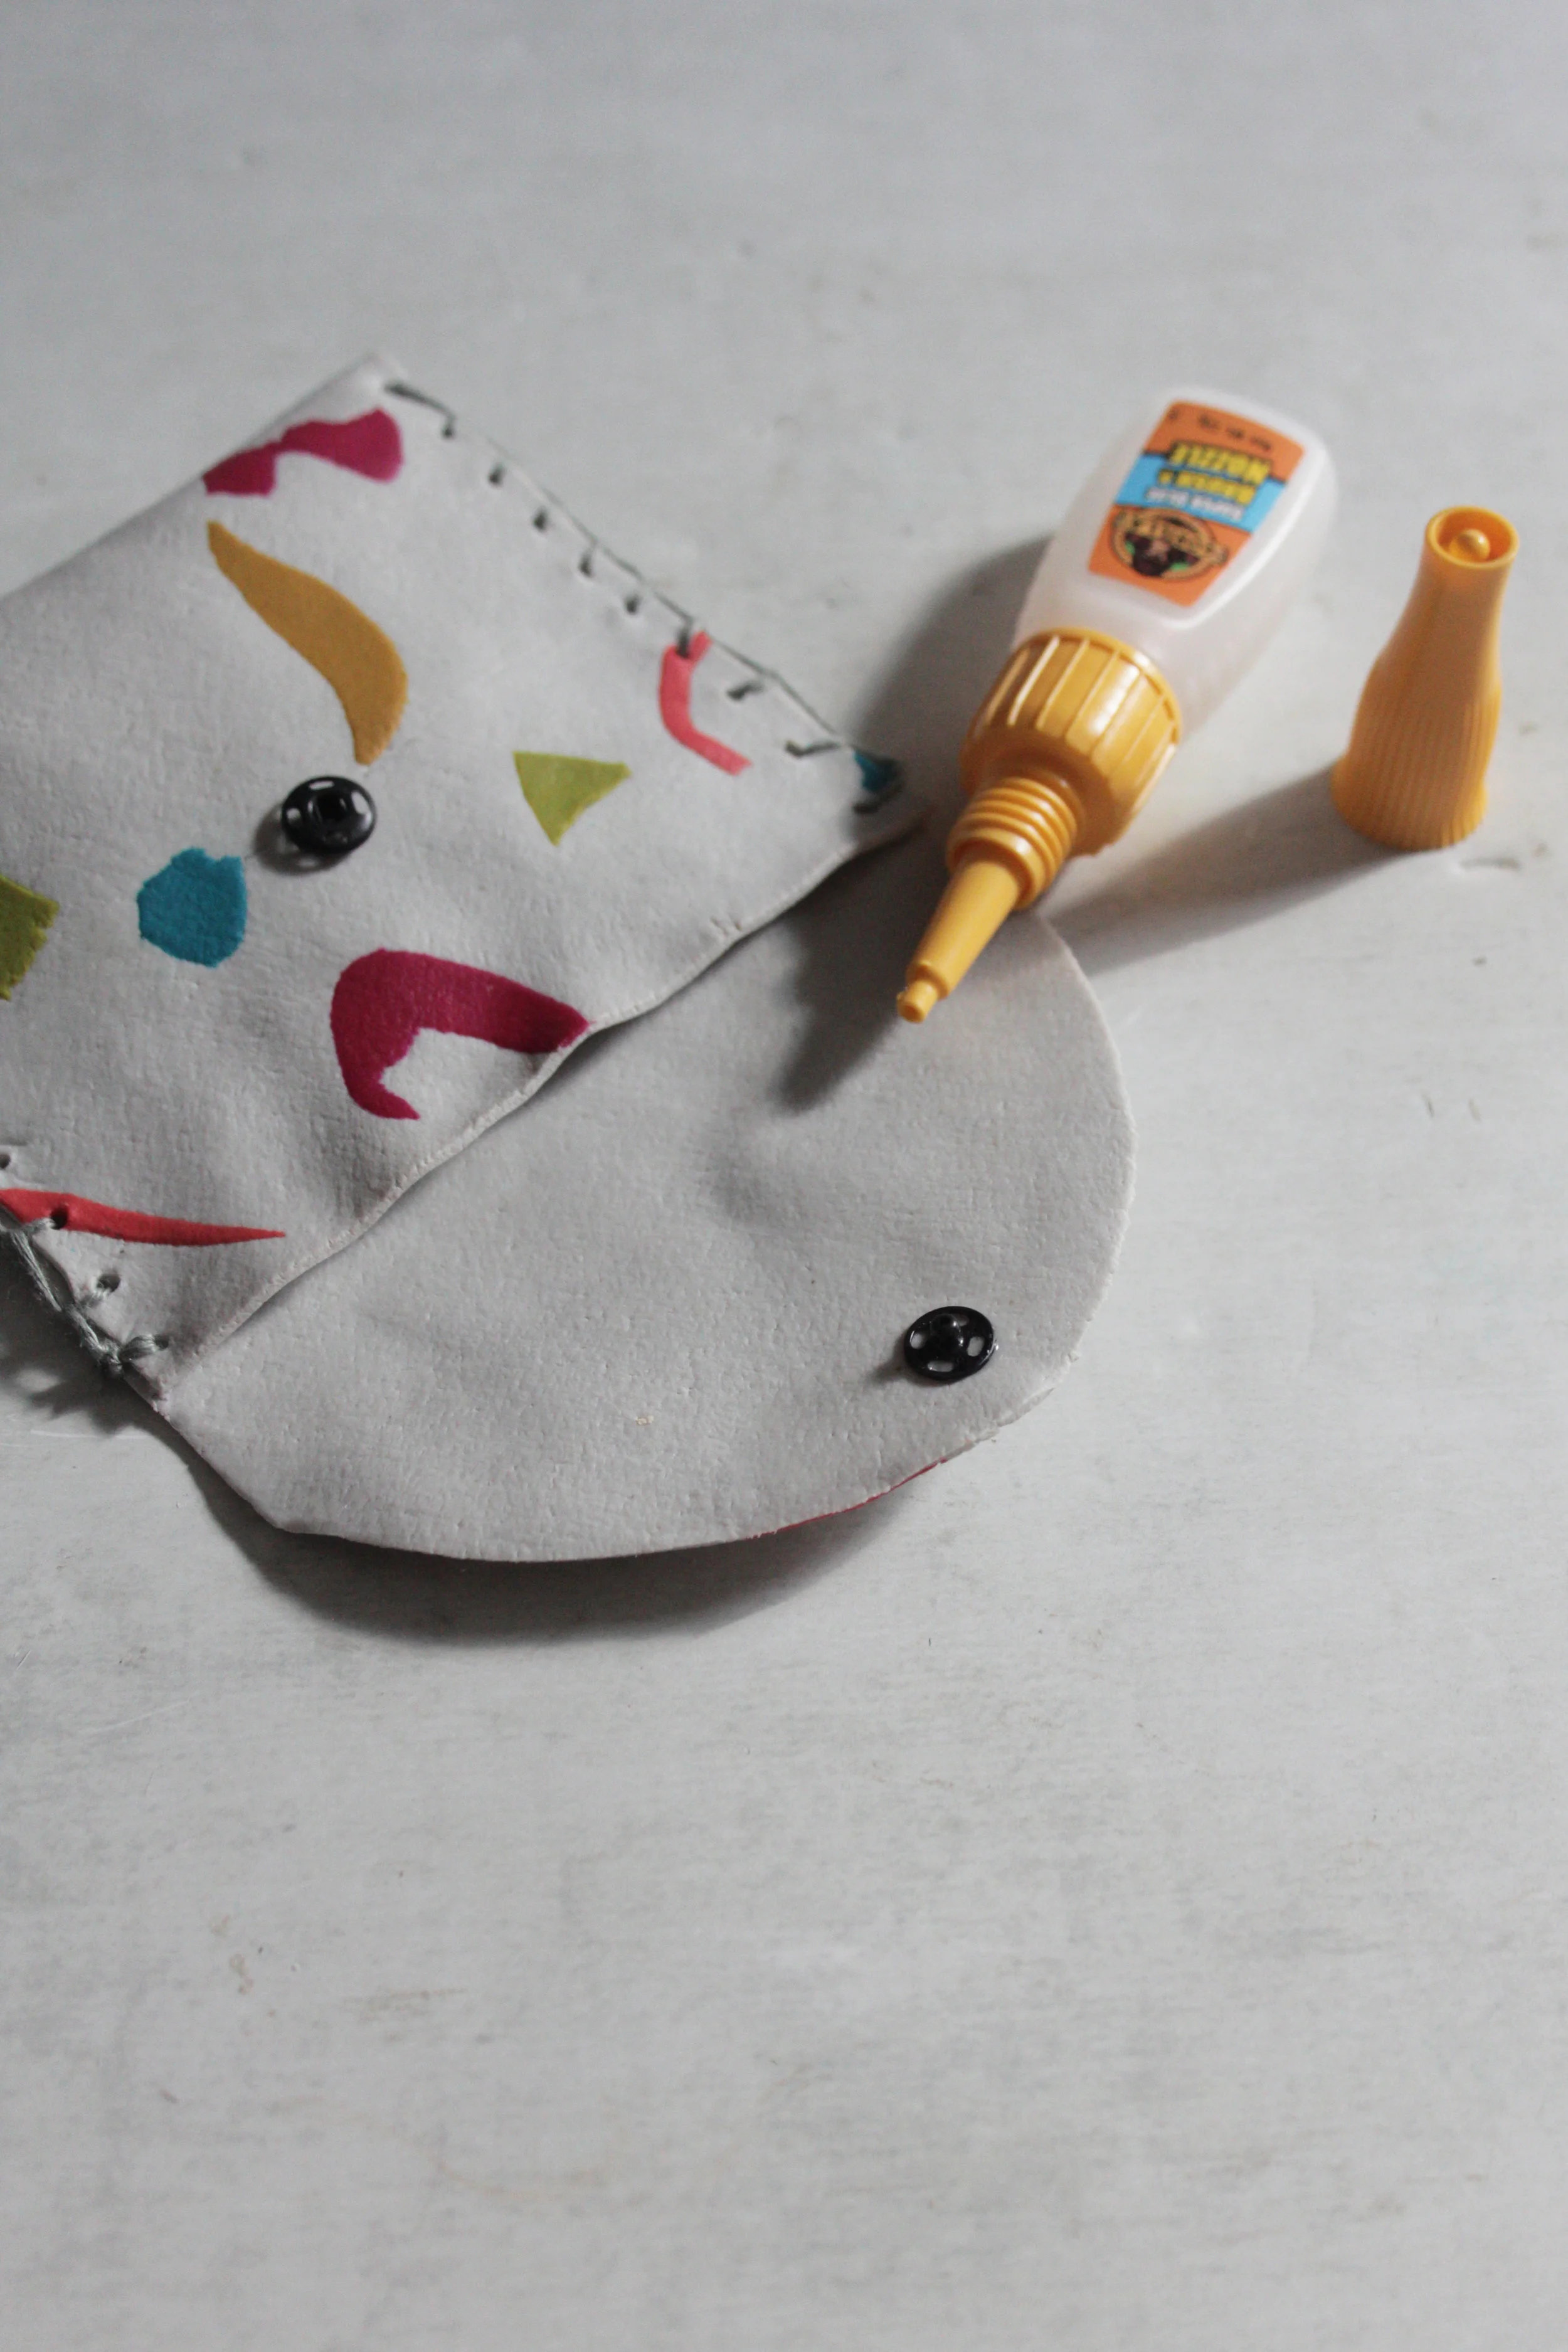
5. Cut out shapes with your craft knife, this can be any shape you like, I went for abstract stars, dots, moon shapes and rectangles.
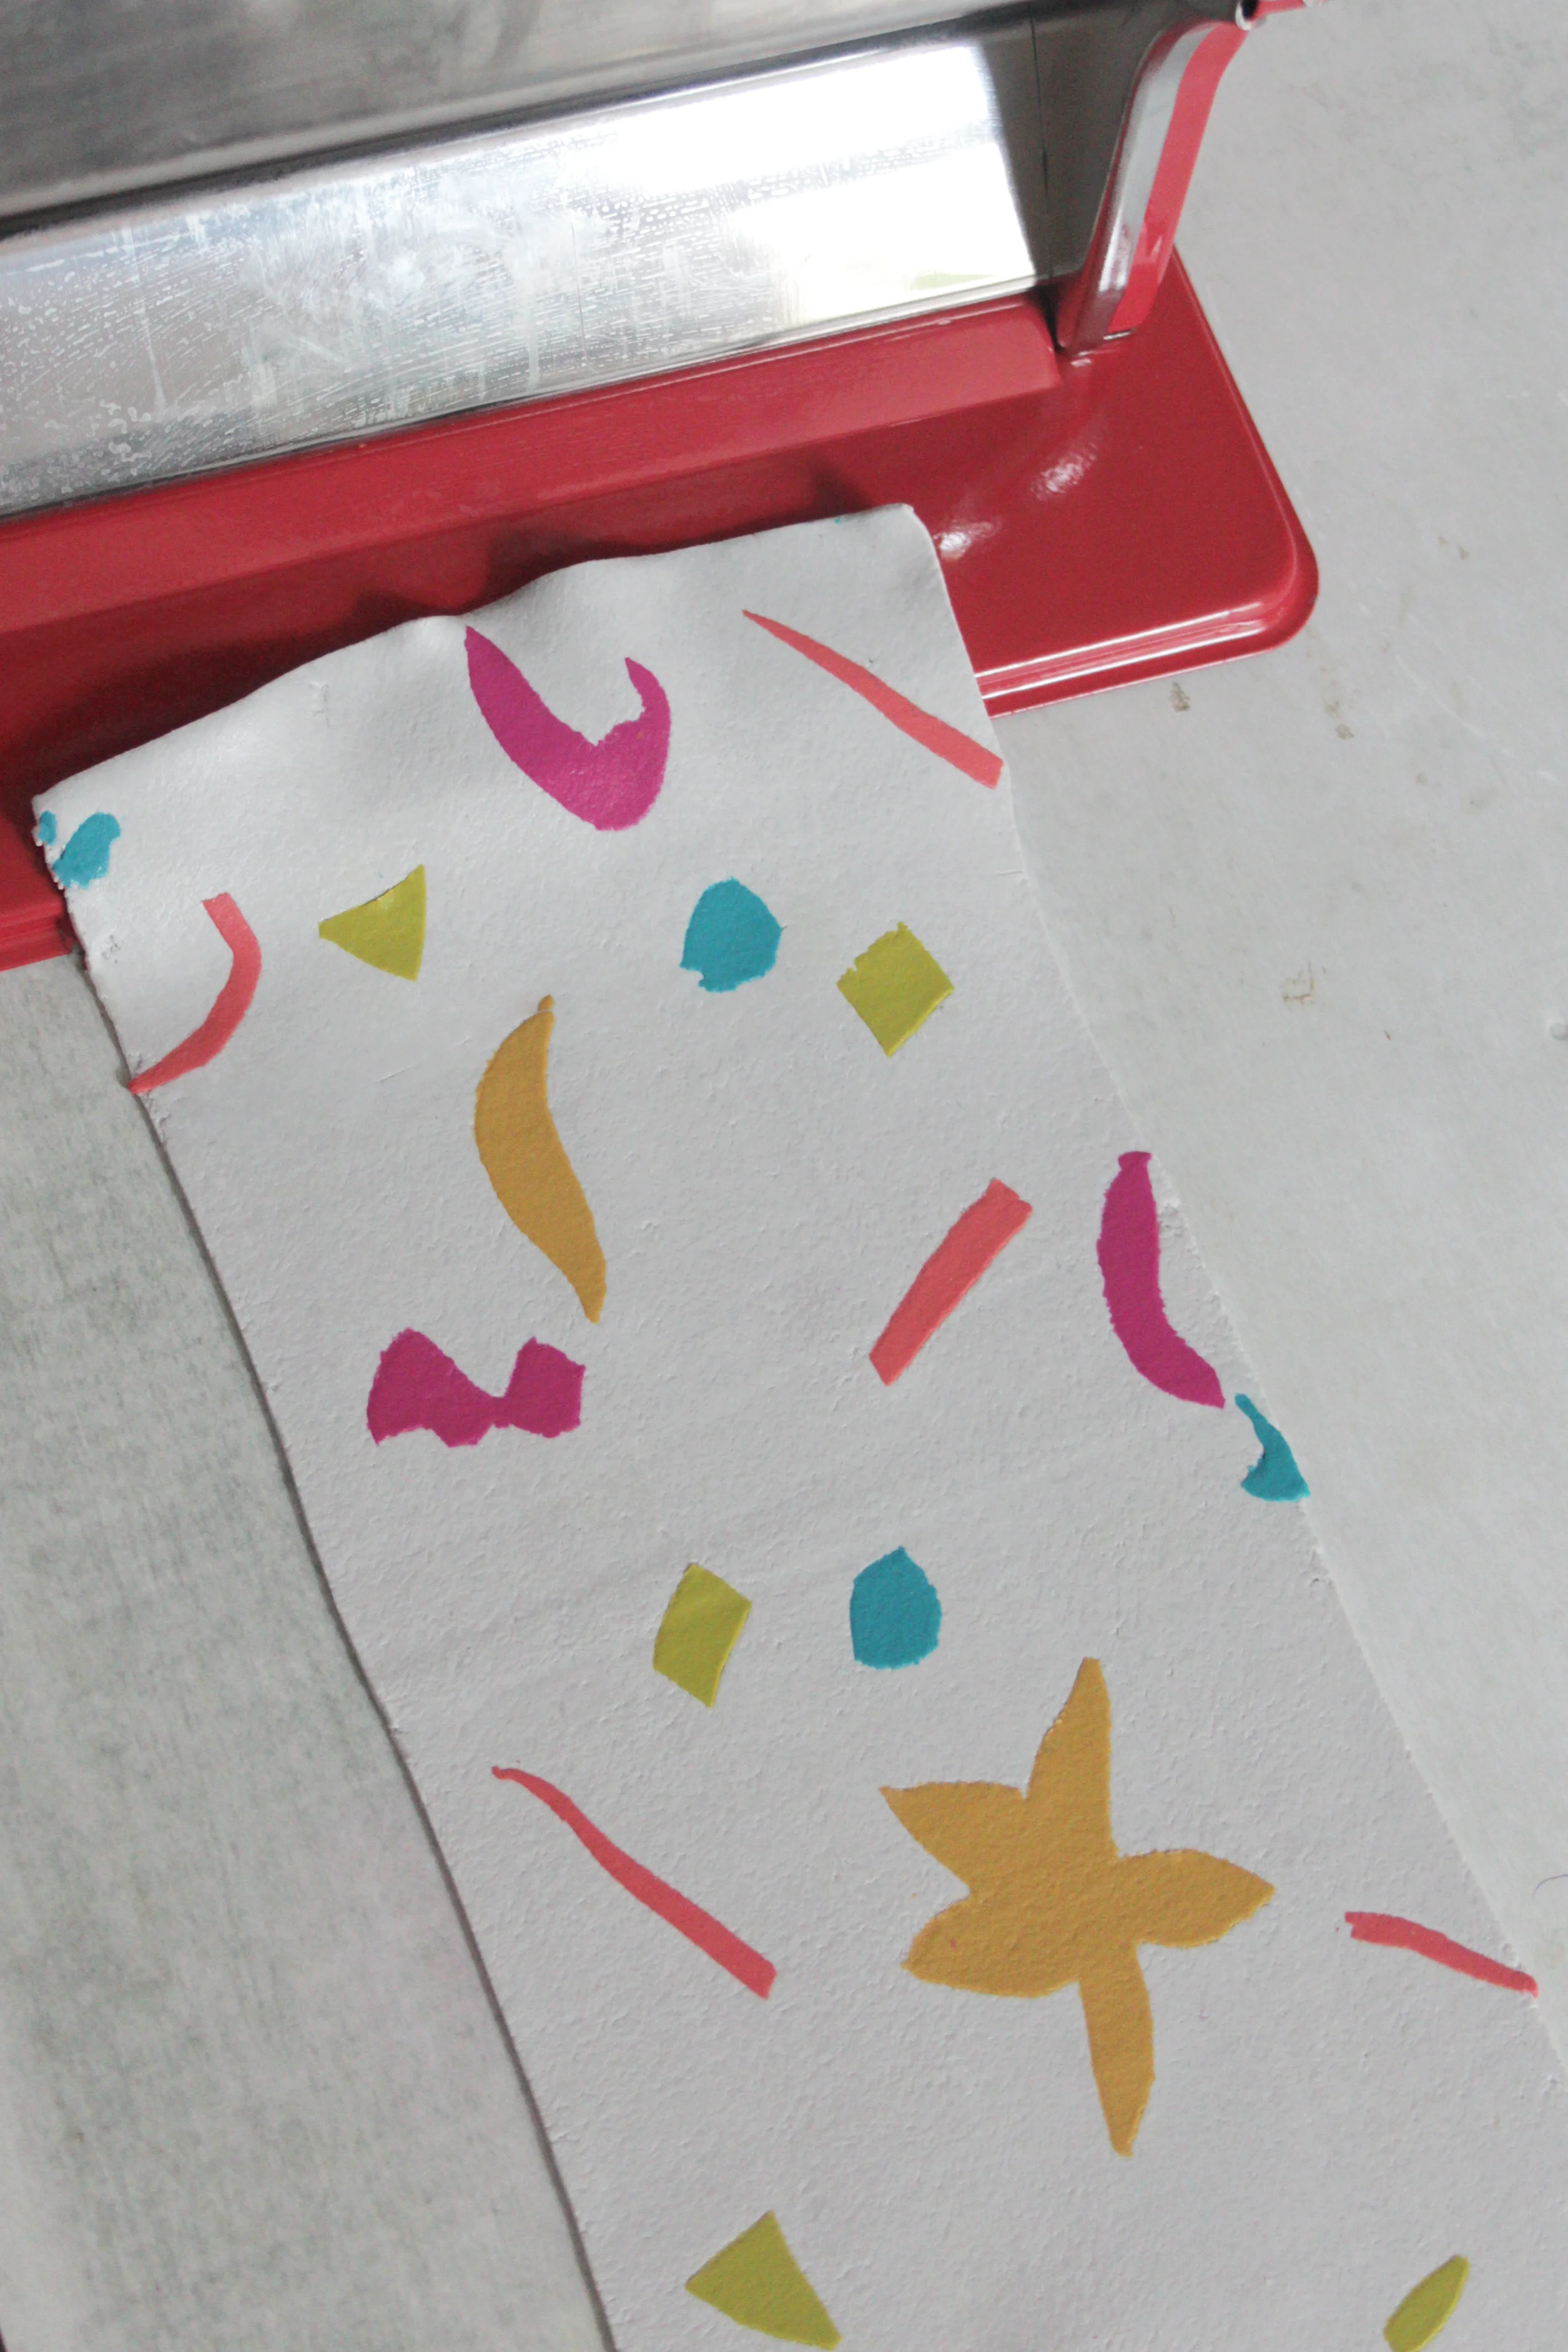
6. Press your shapes onto the light grey rectangle, don't press too hard, you don’t want to distort the shape but make sure they stick together.
7. Keep going until you are happy with how your pouch looks, use as many shapes and colours as you like.
8. Carefully push your rolling pin over the rectangle or put it through the clay machine on a mark 3
9. Neaten the edges by cutting them straight
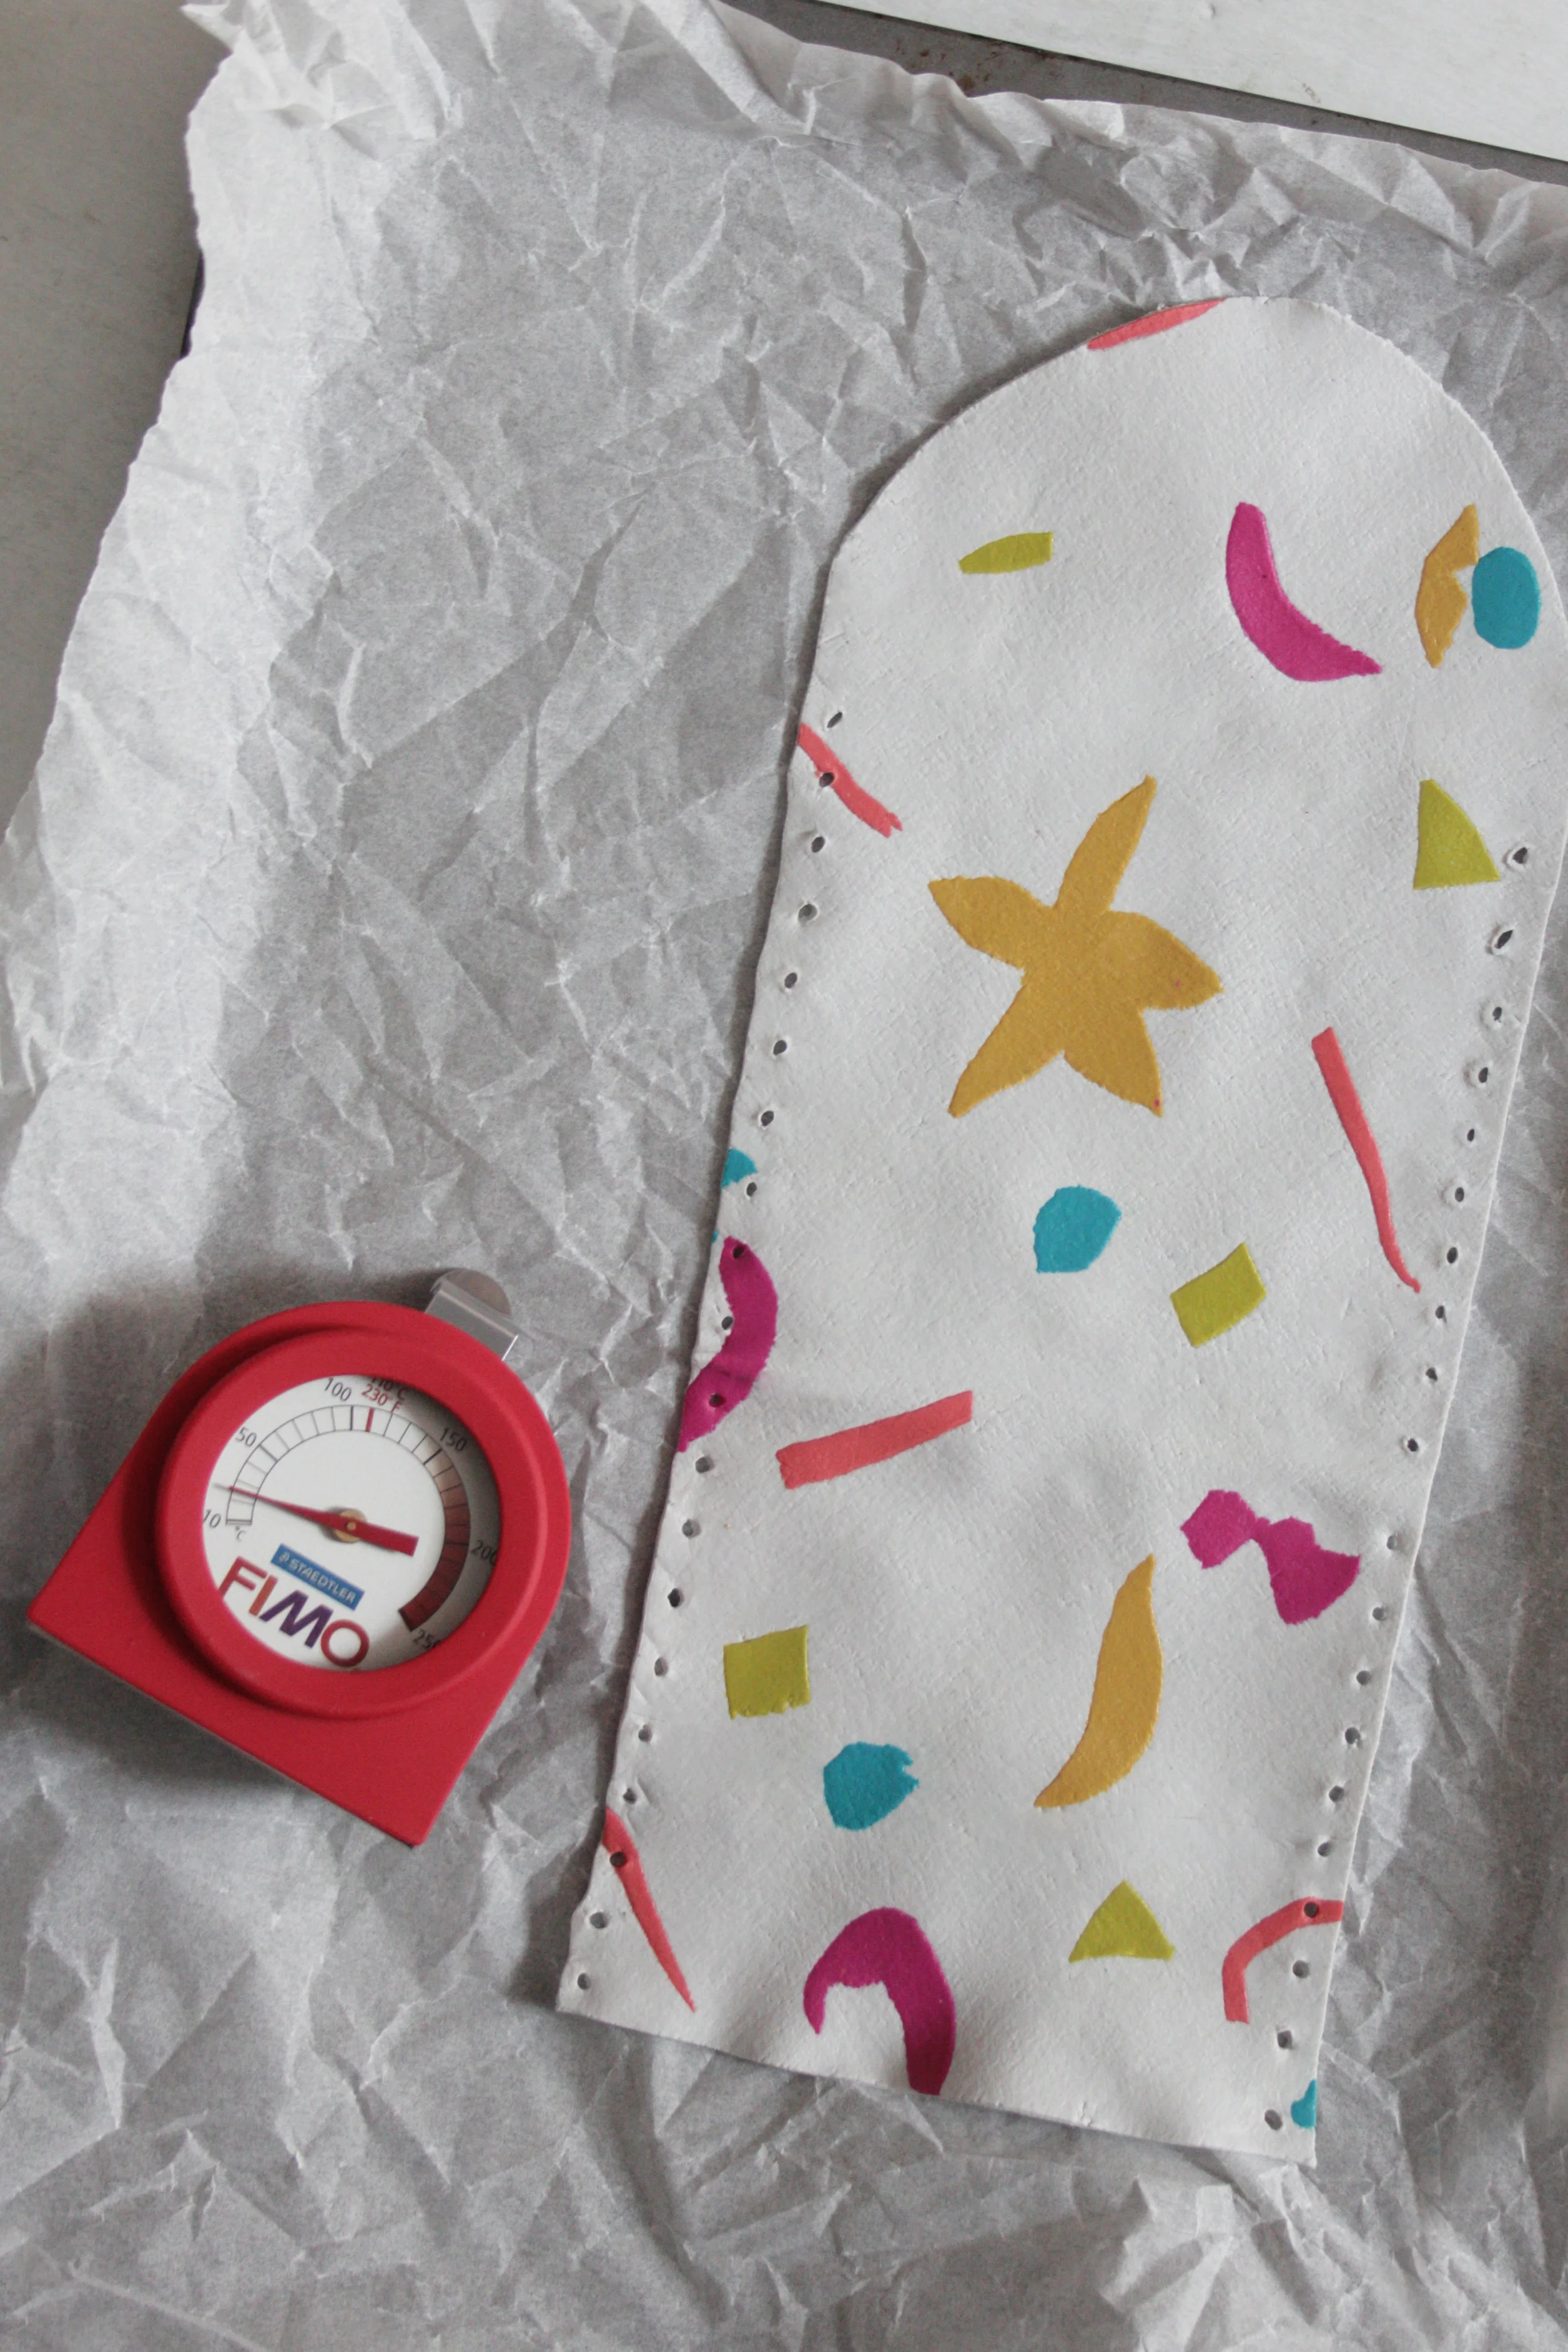
10. Six centimetres from the top cut an arch shape. Mark 6 cm from the top on both sides and run your knife to the top middle of the rectangle in a nice soft arch shape
11. Fold your rectangle into the pouch shape (arched top down and rest folded in half) and with something sharp like a knitting needle punch small holes every centimetre and 0.5 cm from the edge.
12. Carefully unfold your pouch and place on a baking tray, bake on 130C for 30 minutes. Don’t exceed the baking time or have the oven hotter then advised.
13. After baking let the pouch cool down completely and sew the sides together. Knot a piece of tread in place at the bottom of the pouch, a double knot should be strong enough
14. Sew the sides up with a blanket stitch, put your needle through both holes and push the needle through the loop of the thread.
15. Super glue the faster in place, be careful not to glue your fingers! Let the glue cure as advised on the bottle and your pouch is ready
I’m loving the FIMO Leather-Effect! By pressing the shapes into the clay it really feels like you have a fancy printed leather coin pouch on you, it will be our little secret you made it yourself :)
Don’t stop with these abstract shapes, how about making a pouch with stripes or maybe with a word written in it? I made just have to try and make one that says Hester!
Sponsored posts, like this one, keep this website running and make sure I can keep providing you with free DIY and craft tutorials. I only ever work with brands that I love and products that I like.

