DIY lacing toy
Aren’t handmade gifts just the best ones to receive? Especially handmade toys, there is just something so lovely about seeing your handy work being played with.
I teamed up with Bosch this holiday season to show you how you only need a few tools and a spare hour to make this super cute lacing toy. Perfect to keep your little ones busy for a while and it will also improve their hand eye coordination, a win win!
I made an elephant as Kiki seems to love them and does the cutest elephant noice. It’s also a pretty easy shape to cut out of wood, you don’t want to make something with too much detail as it will be trickier to hold by little hands. You also need enough body to drill the holes in. An elephant is perfect!
You need:
a piece of pine wood, I used a left over plank from a previous project
pencil
black marker pen
two laces, at least 30 cm long
two wooden dowels (optional)
two wooden beads
black embroidery thread
You do:
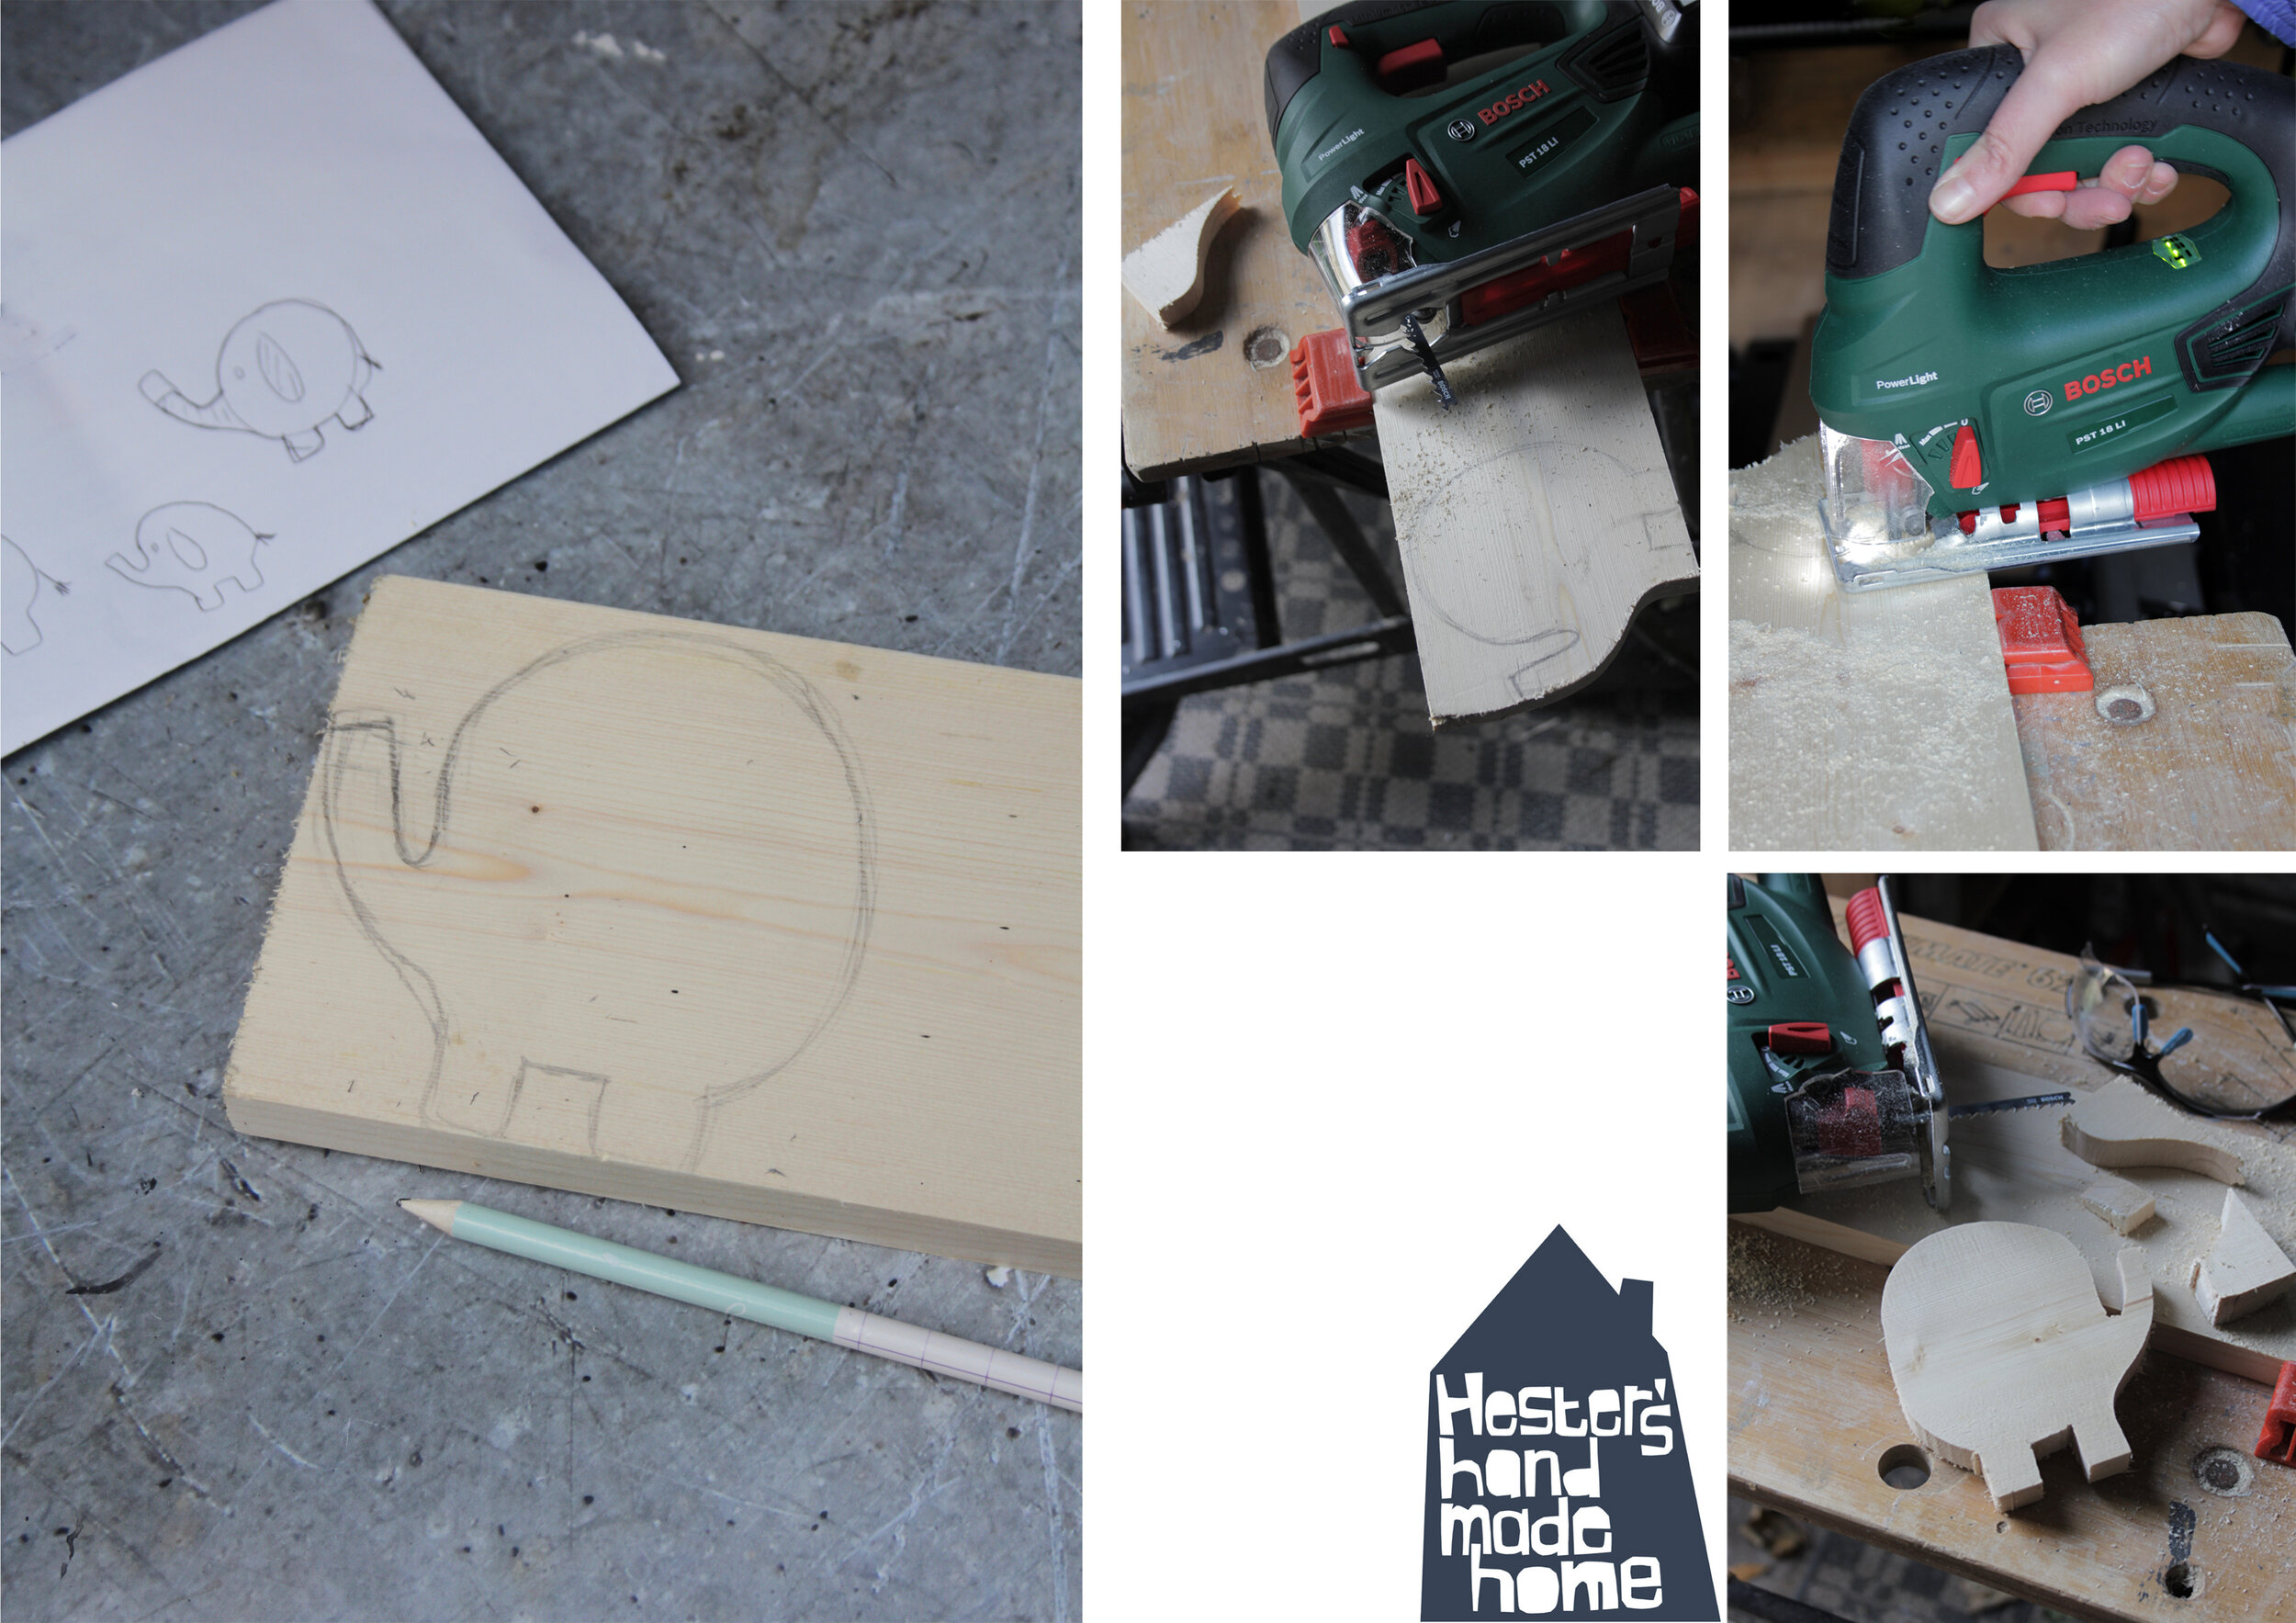
1. Draw your elephant on to your piece of timber. My elephant is 12x12 cm big, I started by drawing a circle and then simply gave it legs and a trunk
2.Cut your shape out with the jigsaw, put the saw on a low speed and don’t rush your cuts for nice smooth lines
3. Sand the elephant smooth, I rounded the edges too to make the shape super smooth for little hands. When you think you finished sanding just sand a little more you want the elephant to be super soft to touch. I used a medium grid paper first and then moved to a high grid one. For hard to reach spots use a piece of paper and sand by hand.
4. A wooden dowel at the end of the lace makes it easier for little ones to lace the toy. Achieve this by drilling a hole in your dowel the size of your lace end, mine is 3 mm. Apply super glue in the hole and push your lace end in. If you find this too tricky just use the lace without the dowel end, it will work just fine
5. Drill holes in your elephant, you want these to be slightly bigger then your dowel or lace end. I drilled holes of 8 mm and 10 mm as I had two different sized dowels. Put a spare piece of timber under your elephant to minimise the change of the wood splitting by the drill. Also drill a hole in the bottom of the elephant for you to attach his tail in. Give the elephant a quick final sand.
6. Give your elephant some details like ears and eyes with toy safe paint or a black marker pen.
7.Braid a small piece of black embroidery tread and glue into the hole you drilled in the elephants bottom for a cute little tail detail.
8.With the glue off the dowels dry, cut the lace to roughly 20 cm long and push a wooden bead on the end of the lace and knot in place. The bead will stop the lace from going through the elephant when your toddler pulls at it. Once again this is a nice detail but you could go with out it.
Kiki sure loves her wooden elephant, it kept her busy for a while working out how to push the lace through the different sized holes. Of course you don’t have to stick to just an elephant, you can make other shapes too. How about a train, a whale or a bunny? Just make sure there is enough body to drill the holes in, as drilling narrow parts of wood, like legs, might cause the wood to split. My elephant is roughly 12 x 12 cm, make your animal a lot bigger if your child is a pro in lacing, you can even place the holes in a way so they can make beautiful patterns with the lace.
I love handmade toys and this is the second one of 3 projects I will be posting before Christmas, have you seen the felt fishing game I posted last week? If you missed it click here.


