DIY wooden name banner
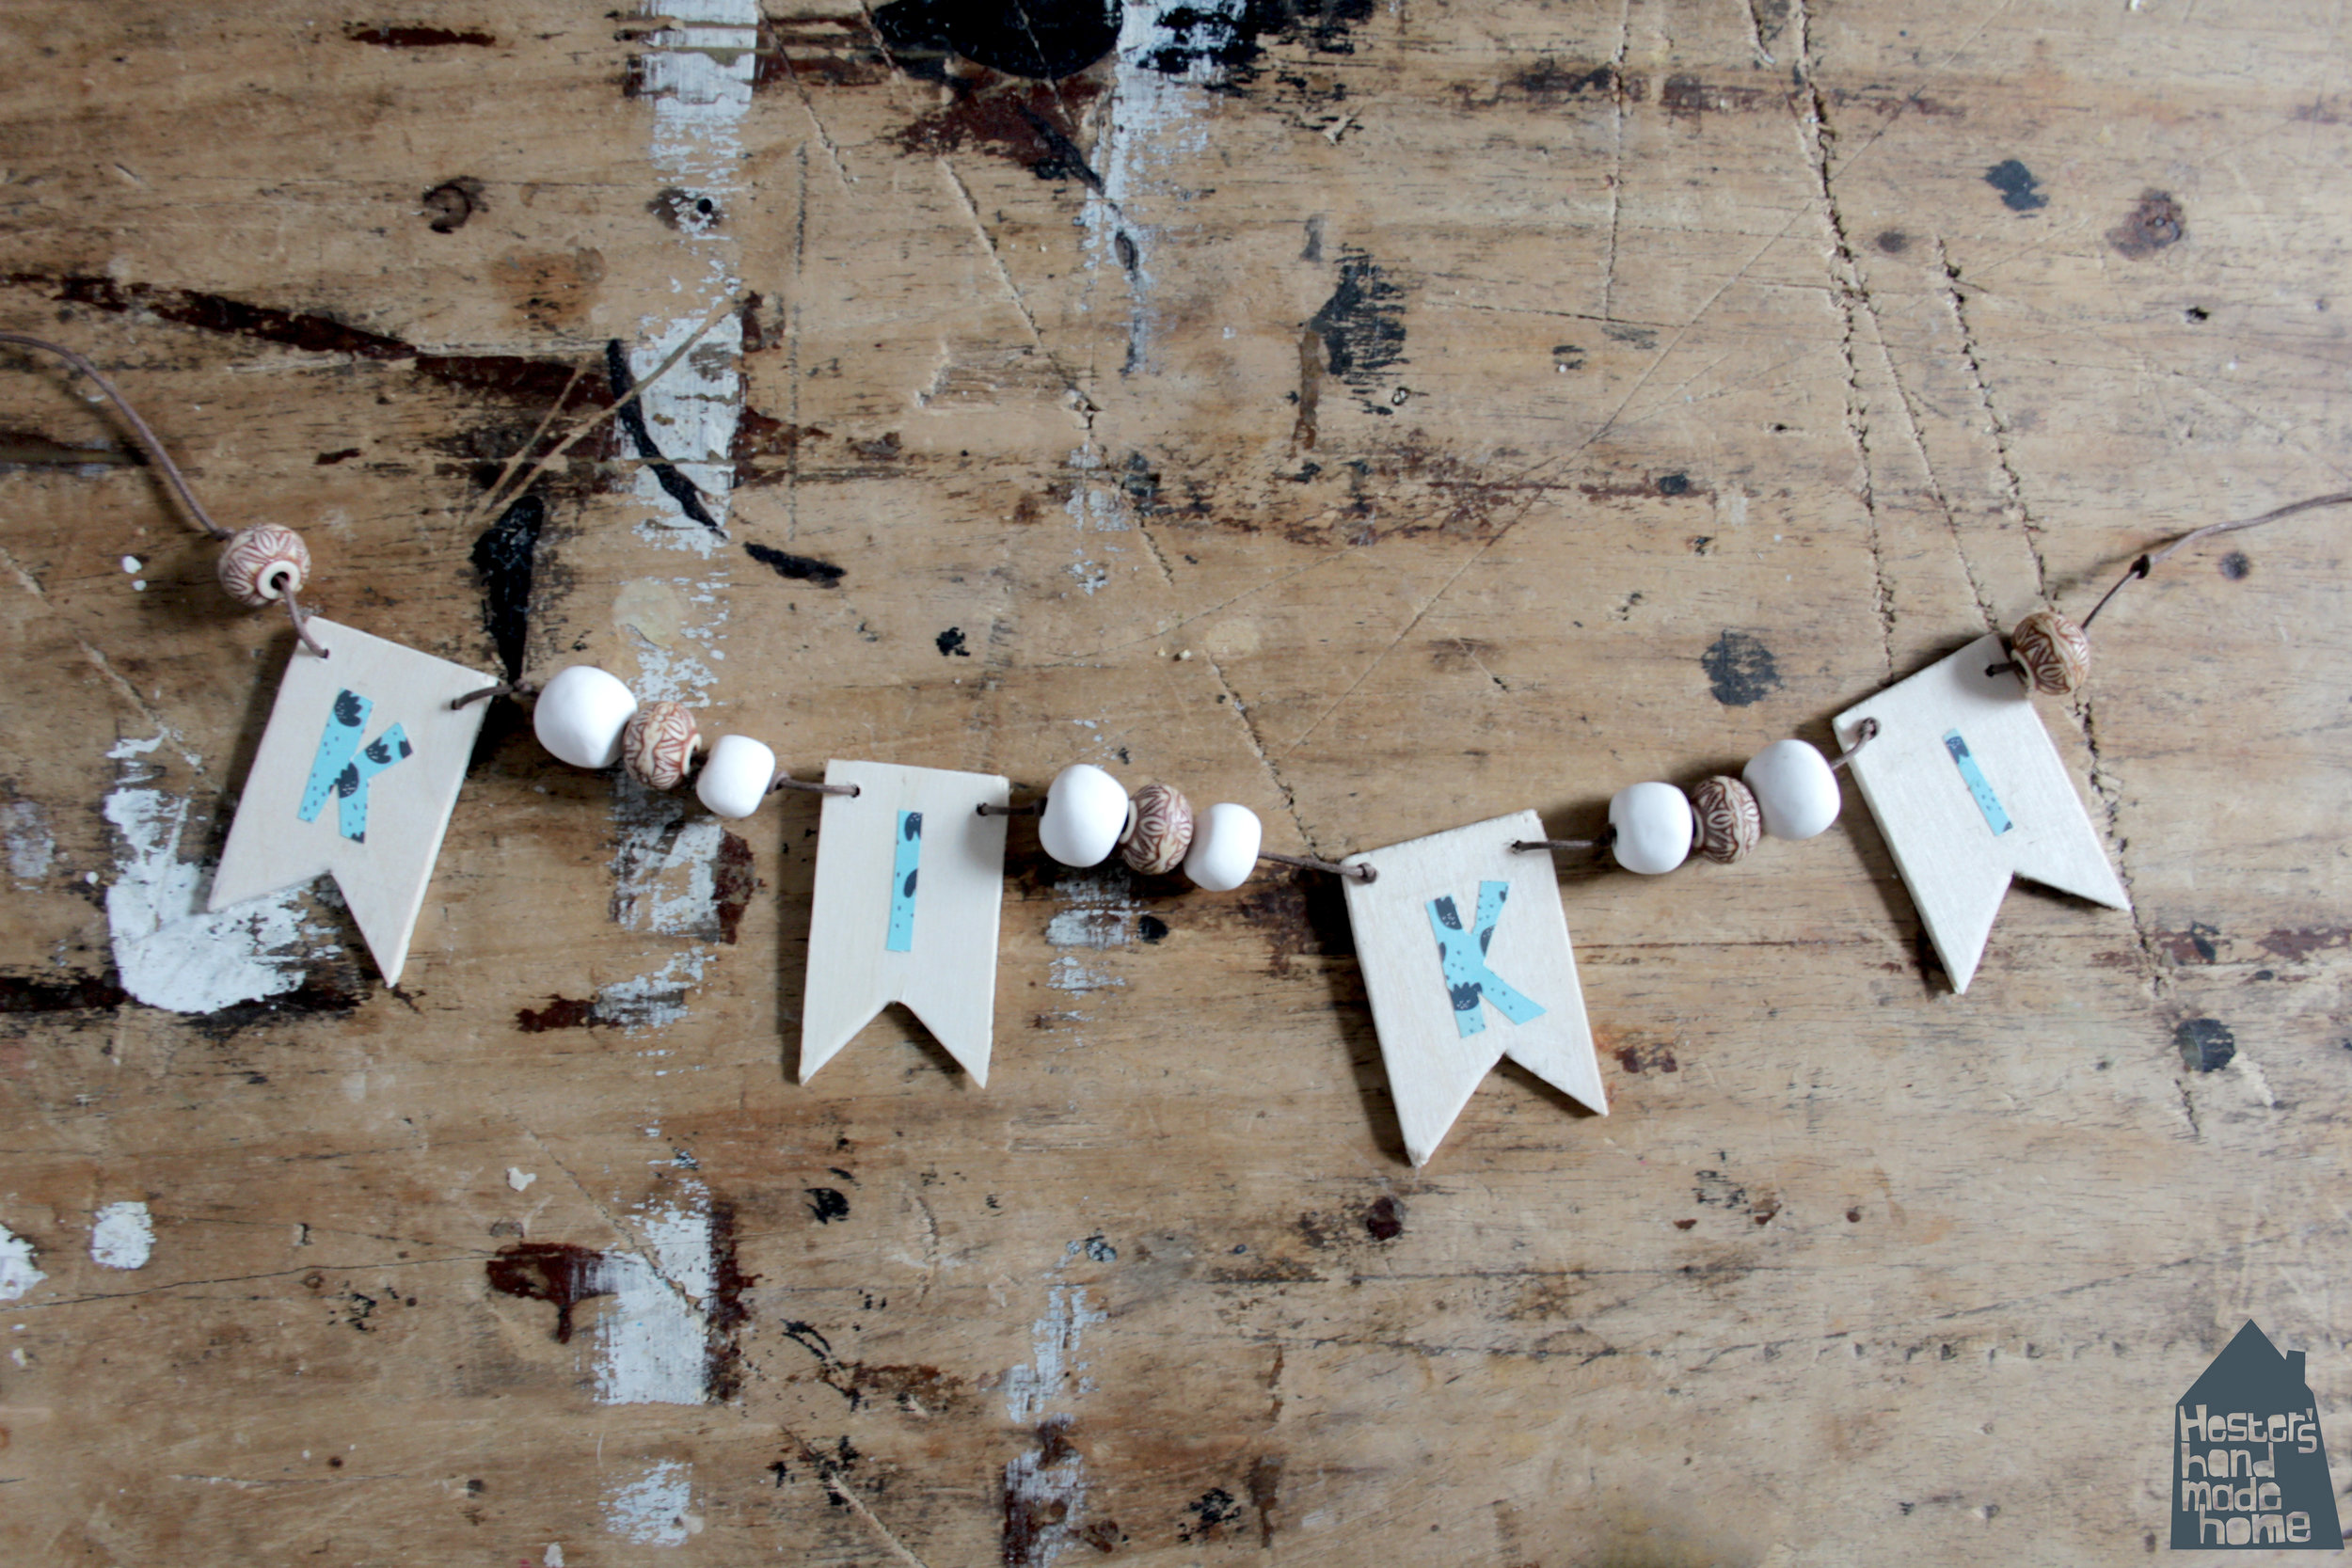
I have a simple project for you today, how to make this super cute wooden name banner. I wanted to make Kiki a little name banner to hang in her room, just a small simple one for a little personalised touch. When she saw it hanging from her shelf she said “Wowie!” Best reaction ever :D
Hope you like it too
To make the banner you will need:
thin plywood, mine is 2 mm thick
a pencil and a ruler
a saw
sanding paper
a drill with a 3 mm drill piece
beads
patterned paper
cord or piece of string
Have a look at the video below for the instruction on how to make the banner. It is very simple you draw out as many flags as you need in your name banner. Kiki has 4 letters so I need 4 flags. The flags are 6 cm long, 4 cm wide and the flag triangle is 2 cm deep.
Like I say in the video I didn’t trust myself hand lettering the flags so I used patterned paper to cut out the letters. You will recognise the book from my previous post, it’s the marvellous Kids book of Paper Love by Flow. If you missed my book review have a look here.
If you don’t want to saw timber you can make this banner from thick cardboard too. Just follow the same instructions but cut out your card with scissors or a craft knife. You could pierce the little holes with a needle or the point of your scissors. I recon it will look as cute!
The white beads I used are made from FIMO clay. Whenever I have a bit of clay left over after a project I always roll it in balls and poke a hole down the middle with a skewer. I bake them at the same time as the project that I’m baking and put them in my bead box once finished. I always have a steady supply of original beads this way :)
Like the shelf with the houses? I will post the tutorial for that next week! Hope to see you then x


