Nursery decor: Plywood animal wall
When it came to decorating the nursery I knew I wanted to turn the chimney breast into a accent wall but I didn't know what with. I looked at painting it an ombre look but thought that might look a bit too messy in such a small room. I looked at wallpapers but I couldn't find anything that was graphic, not to bust but still fir for a baby room. Then I thought maybe something with wood could be nice especially as the little room has a slight woodland cabin look. I briefly looked at making a shingle accent wall and then I remembered the little wooden animals I wanted to incorporate into the room somehow.
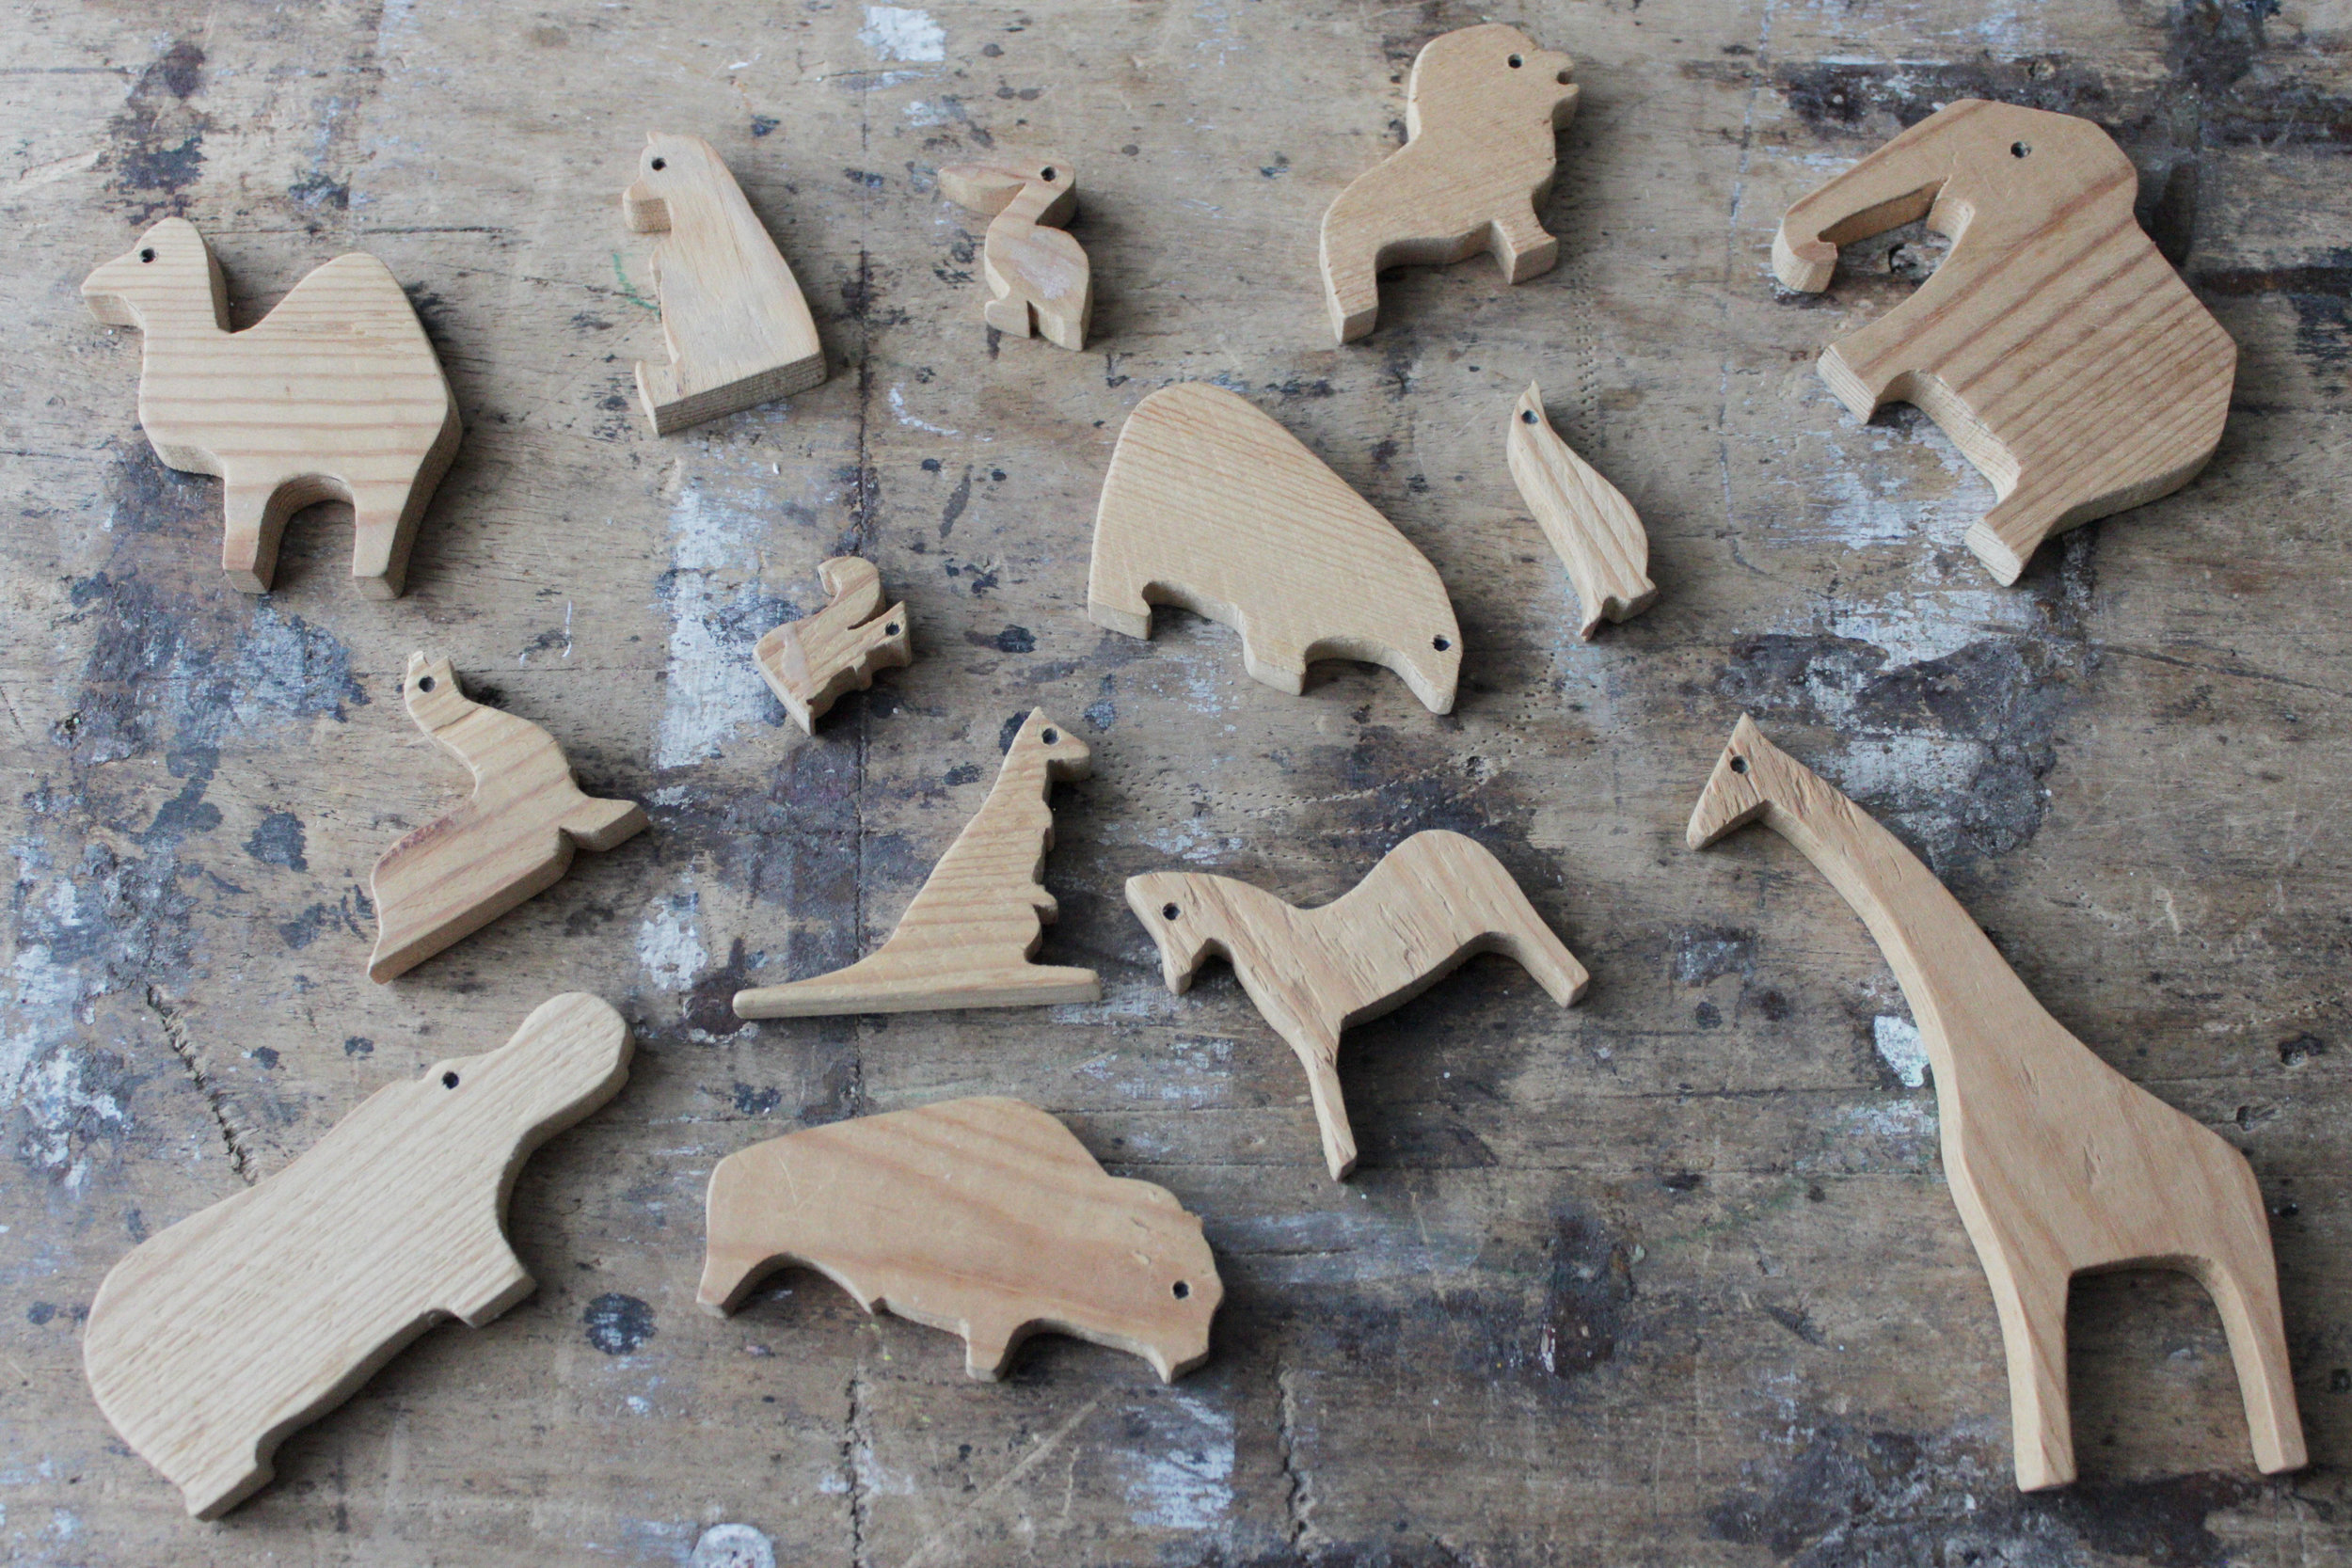
My dad made these figurines when I was born, I played with them lots and to the day still use them, they pop up as props in my photoshoots :) I love the simple design the animals have and are amazed how I could have cut the squirrel out as it's no bigger then 2cm! I could of course have them lined up on a shelf but I wanted something bigger, have a look at the video below at what I came up with.
I love how the animals look on the wall! And super easy to make too, I made this wall two weeks before baby girl was due :) Must say cutting out the plywood in the garden at 0 degrees probably wasn't the best idea I've ever had but with my cordless Ryobi jigsaw it was a doddle.
I used 3 small sheets of plywood for the animals, two sheets in 5mm thickness and one in 3mm. I like how the different in thickness gives a little extra dimension to the wall.
Do you still have some of your child hood toys? The bear in the crib is from when I was little too. My mum made him for me, love that I have handmade toys in the nursery that might become family heirlooms.
The wall also turns out to be a great thing for baby to look at, as they shapes are simplistic and there is a great contrast with the white wall baby loves looking at the plywood figurines during her feeds.
The plywood animals are super easy to make. Draw out your animals, I used a torch and shadows to enlarge my original animals. Trace the paper shapes on the plywood and cut them out. Sand the wood and use the templates to mark out your design on the wall. Use a strong glue, like no more nails, to stick the wood to the wall. Use tape to keep the shapes in place for 24 hours while the glue dries. Thats all!
There has been two tutorials for my nursery now, the wardrobe and changing table tutorial will follow soon! To catch up on my alcove bookcase tutorial go here.
To keep in touch with my DIY builds, follow me on Instagram @byhestergrams. You might also see a little Kermit the dog or Kiki the baby shot ever now and then :)


