Alcove bookcase
Living in an old house has its quirks like wonky floors, hardly any wall insulation and no straight walls. Literally nothing in my home is level which makes it a bit tricky finding furniture to fit perfectly. Remember my bedroom makeover? I had a lot of weird angles to work with making it a interesting build. Well I'm all over the slanted ceiling again as I started tackling the little room next to our master bedroom which will become the nursery.
I will post some before and after shots once all projects have been finished but this once storage room is now slowly transforming into a child's bedroom. One of the first furniture projects for the little room is my modular bookcase have a look at how I got on.
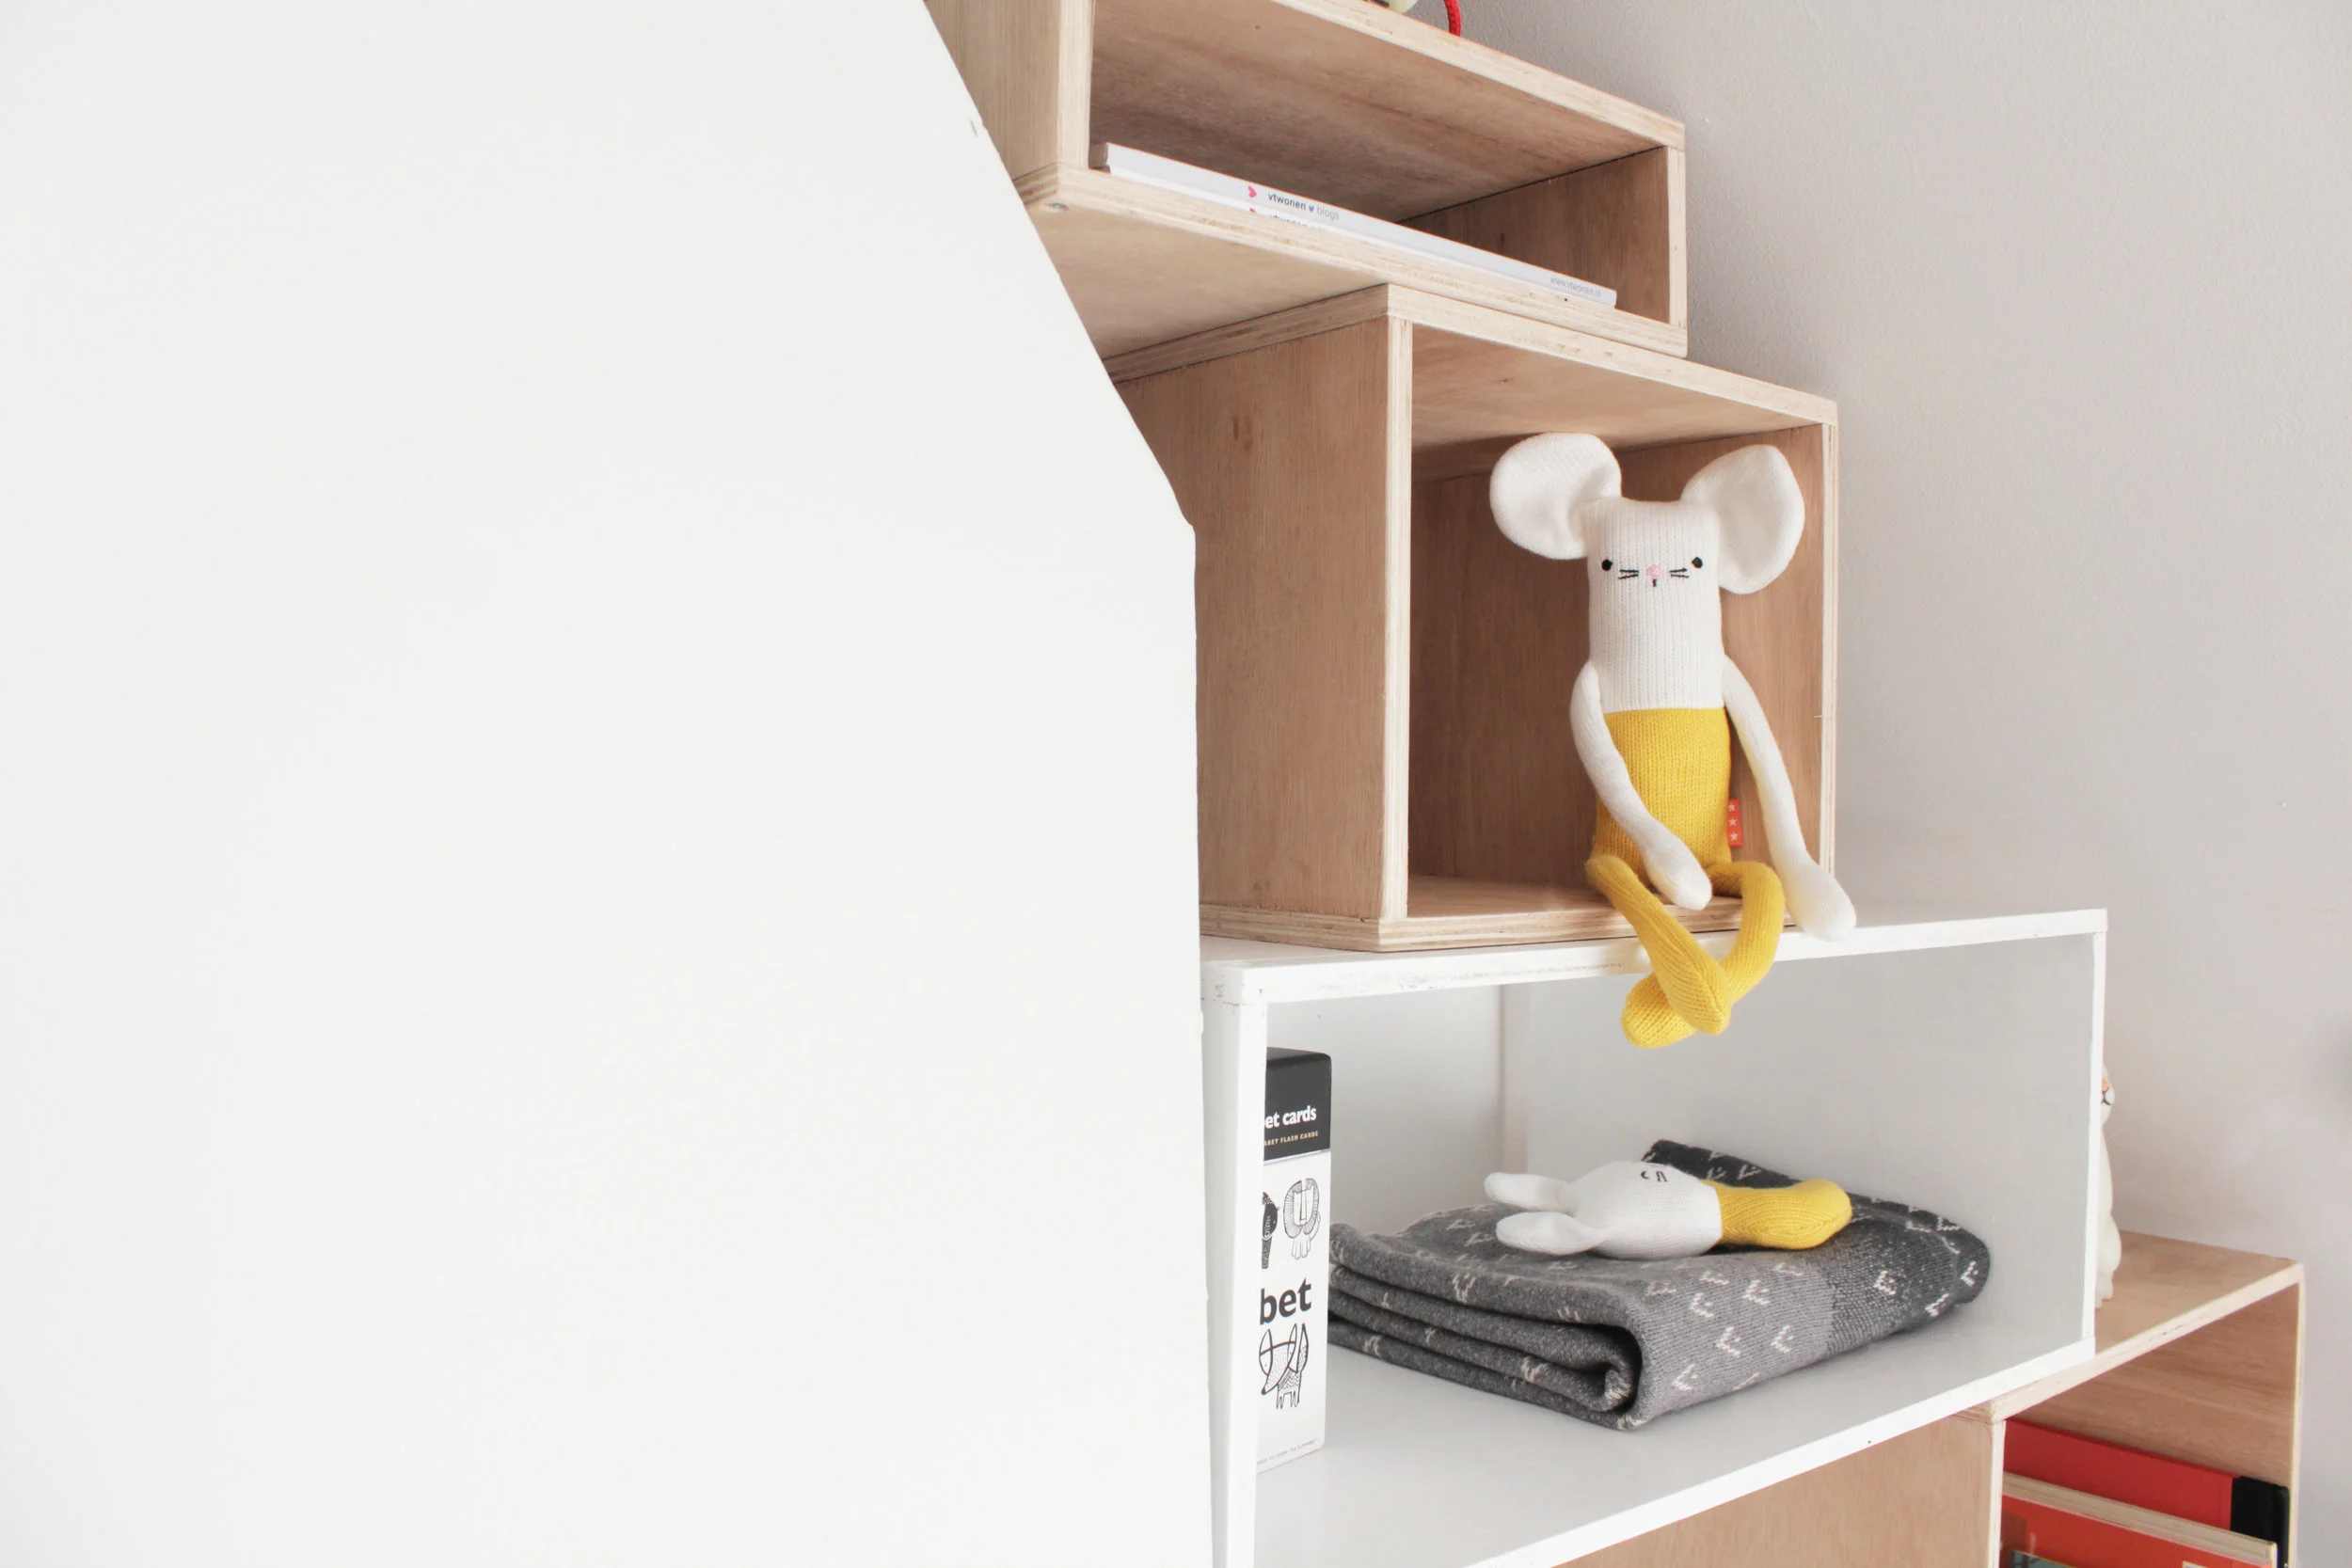
What do you think? Like my storage unit build from cubes and rectangles? When working out building plans for the bookcase I initially wanted to make a plywood case that would slot into the alcove. Think a sort of triangle shape that I could just push in place. When I realised not only the walls but also the chimney breast and the floor weren't straight thats plan got scrapped quickly. I knew I didn't want to hang shelves on brackets as I didn't want to drill too many holes in the wall so something made to measure but easy to build it had to be.
I wanted to use a cupboard as a base of the unit, the closed doors make it a perfect hideaway for all our spare duvets, pillows, throws etc. As I went from a whole storage room to only one cupboard I needed all the storage I could get! This Ikea Ivar unit is perfect for the space, I was a bit in doubt if I should go for the 30cm deep one that could look like its flush with the chimney breast or if I should go for a deeper, 50cm, unit that sticks out but gives you double the storage. The more storage it was and I just turned the sticky out bit into a feature of the build.
The Ivar unit got a light stain of white paint (I used Rust-Oleum satin furniture paint in cotton) I taped off two stripes for a little pine accent, the sides got left bare too. Metal hair pin legs raises the unit slightly off the floor. As my floors are not straight it would otherwise be tricky to open the doors fully. And I must say love the look of the little steel legs.
I roughly worked out what shapes could fit in the alcove space and together with my dad made sure all the box measurements were correct before ordering the plywood. When you build a lot of cubes like in this bookcase it is worth having your timber yard saw everything for you. You pay a little per cut but it saves you so much time and their massive saws can cut a lot straighter then I can. I used 9mm thick plywood for all the shapes including the base plate that I glued and screwed to the Ivar unit. This baseplate is like a little table top were I can stack all the cubes on top off. It got a got lick of white paint, as did the top of the base unit, just so the pine and plywood would merge better together.
With all the cubes and rectangles made I had a little test to see how it would look all look together (see the wonky images above) and to see if I had to shuffle some of the shapes around. I also had a look which shape to paint and which ones to leave bare. One of the bigger boxes I painted completely white, while two smaller ones got partly painted. I had to give the plywood 3 coats of paint for a nice coverage. With the paint dry I could glue and screw the bookcase together. As a safety precaution the unit is anchored to the wall too.
I was supposed to have one more small shape on top of the last rectangle you see (the one with the dog toy) but the timber yard messed up my list of measurements and I had to do with that tiny white shape instead. I might still make another box but I rather love the small white rectangle I have now. I didn't screw that one in place, as it's so small, so it can move around the unit changing it look up slightly.
I think I mainly going to use this case for books, toys and to showcase some art work. Its a small room so I like to keep the boxes slightly empty for a clean look. All the other bits and bobs can be stored in the Ivar unit as with its closed doors everything will be out of sight.
I don't have many items to showcase in my newly build bookcase yet but I recon that will change soon when the baby arrives :) In case you were wondering displayed at the moment are:
- The yellow mouse and rattle are from Hema
- The bunny is Anne-Claire Petit through Amara
- Yellow cat by Donna Wilson through Amara
- The grey blanket and the bear cushion are Ferm Living through Amara
- Alphabet cards Wee gallery
- Butty Bear print by Lisa Jones Studio
- Ceramic pot by Camila Prada
- I can't find the brand of Charlie the Sausage dog pull toy but google the name and you will find him.
Thats the first of my builds for the little room done! I hope you like it. Expect a few more nursery makes in the next couple of months and I will post a proper before and after once the room is done too. It was the only room in our house that hadn't had a makeover yet, think ugly brown carpet, light yellow walls and purple floral wallpaper. It looks a lot more in keeping with the rest of the house now!
I'll be back next week with a new tutorial hope to see you then xx Hester


